The Ultimate Outdoor Gear Guide 2025
Practical gear for hiking, camping and adventure travel, based on real use across different environments.
How to use this guide
This is a practical breakdown of the outdoor gear I actually use in demonstrate, hike, camp, and travel with. My setup changes depending on conditions, terrain, and trip length, and this guide reflects that.
Each section explains what I carry, why I carry it, and when I’d change things. There’s no single perfect setup, just systems that adapt.
You can click on any product image to go directly to that item.
Use this as a reference, not a checklist.
Some links in this guide are affiliate links, which means I may earn a small commission if you choose to purchase at no extra cost to you. These commissions help support the creation of free content like this. Thank you for your support.
Contents:
Clothing System
This section covers how I layer clothing for hiking, camping and cold conditions. Rather than focusing on brands, I break things down by function: base layers, mid layers, insulation and shells, and explain what I choose depending on weather and activity.

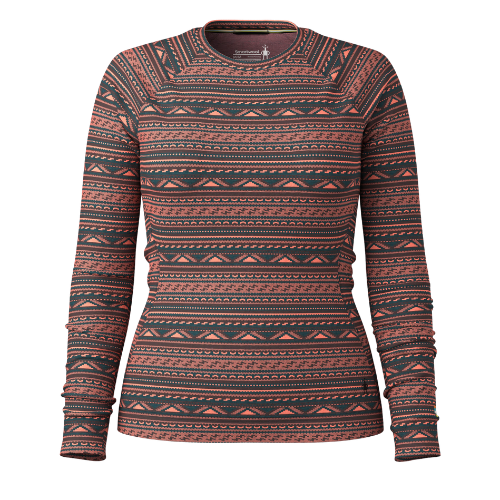
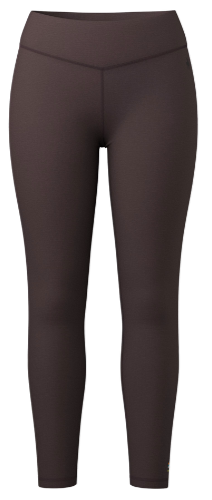
Base Layers
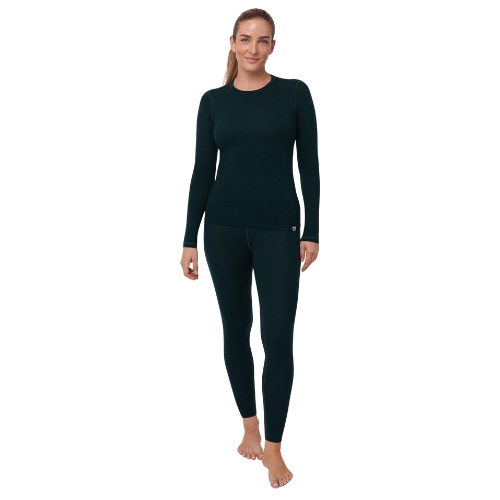
Base layers sit next to your skin and are responsible for regulating temperature and managing moisture. This is one of the most important layers to get right. I almost always choose merino wool base layers for hiking and camping. Merino regulates temperature well, stays warm when damp and does not hold odour in the same way synthetic fabrics do. For longer trips or multi-day hikes, this makes a noticeable difference.
Key things I look for in base layers:
• Comfortable, snug fit but no rubbing
• Breathability
• Warmth relative to weight
Both merino and synthetic base layers have their place, and I use both depending on the trip.
Merino wool is my first choice for most hiking and camping trips, especially when I will be wearing the same base layer for multiple days. Merino regulates temperature well, stays warm even when damp, and does not hold odour in the same way synthetic fabrics do. This makes it far more comfortable for longer trips, cold conditions, and travel where frequent washing is not always possible.
The downside is that merino tends to be more expensive and slightly less durable over time, particularly if worn under heavy packs or washed frequently.
Merino vs Synthetic Base Layers
Synthetic base layers are generally more affordable, dry very quickly, and hold up well to repeated use and washing. I tend to use synthetic base layers for shorter trips, high-output activities, or warmer conditions where moisture management and fast drying matter more than odour control.
They are a practical option if you are just starting out, hiking occasionally, or want a budget-friendly alternative.
In most cases, I prioritise merino for comfort and versatility, and use synthetic base layers when durability, price, or quick drying is the priority.
What I typically wear as my base layers
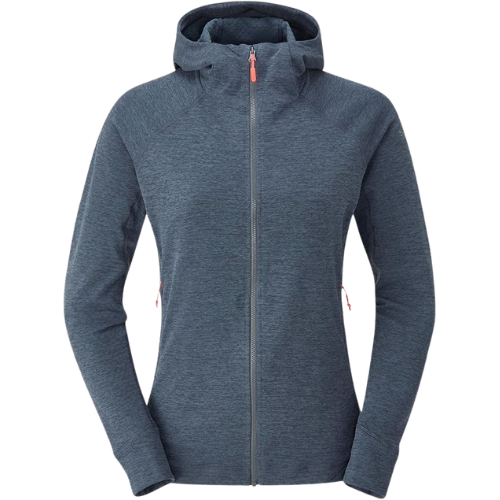
Mid Layers
Mid layers provide warmth and are the layer I adjust most often throughout the day. This is usually the first layer I add when I stop, and the first I remove once I start moving again.
Lightweight Fleece
A lightweight fleece or grid fleece is my go-to mid-layer for most trips. Fleece layers are breathable, dry quickly and work well in damp conditions, making them ideal for active hiking where I am moving consistently.
Why I use it:
Breathable and comfortable while moving
Dries quickly if it gets wet
Easy to layer under a waterproof shell
Or
Lightweight insulated jacket
In colder or drier environments, I sometimes swap a fleece for a lightweight insulated jacket. These provide better warmth for their weight but are less breathable, so I tend to use them when activity levels are lower or temperatures drop significantly.
When I choose insulation instead:
Cold and dry conditions
Early mornings, evenings or camp
Longer stops where I am not moving much
Insulation Layers
Insulation layers are designed to keep you warm when you are not moving. This is the layer I rely on most during breaks, in camp, early mornings, and evenings when temperatures drop, and activity levels are low.
Unlike mid layers, insulation is not something I wear constantly. It usually lives in my backpack and comes out when I stop moving or when conditions demand extra warmth.
Down insulation
Warmer for its weight
Packs down smaller
Best for dry, cold conditions
Synthetic insulation
Retains warmth when damp
Dries faster
Better suited for wet, unpredictable weather
I tend to choose down for cold, dry trips where weight and pack size matter most, and synthetic insulation when moisture or prolonged damp conditions are more likely.
DOWN VS SYNTHETIC
HOW I USE INSUALTION
Worn during breaks and rest stops
Added immediately when activity levels drop
Layered over a mid-layer for warmth
Packed away while moving to prevent overheating
Even on shorter trips, I almost always carry some form of insulation. It’s one of the easiest ways to stay comfortable, safe, and adaptable when conditions change quickly.
For most trips, I carry a lightweight insulated jacket that packs down small but adds a significant amount of warmth. It’s one of the most important pieces in my system, especially for longer days, colder climates, or multi-day trips.
What I Use
Below are the insulation pieces I personally use and trust on my trips. These are items I’ve tested in a range of conditions, from cold UK mornings to multi-day trips in colder climates.
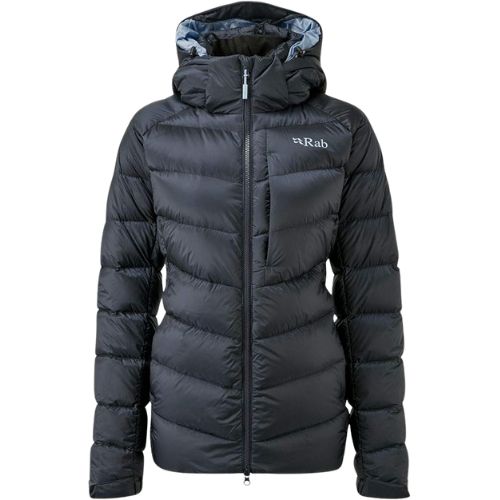
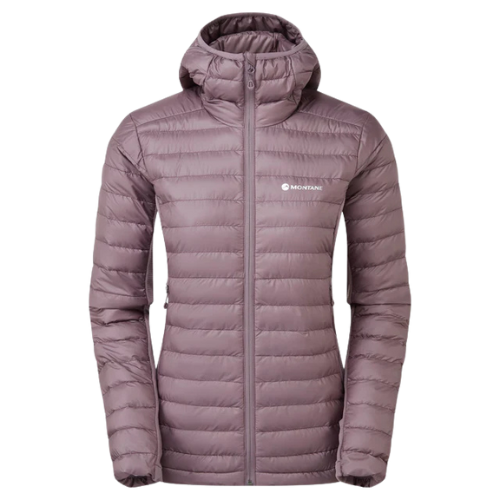
Lightweight Insulated Jacket
This is my most-used insulation layer. I carry it on almost every trip, even in summer, as it provides warmth during breaks, early mornings, and evenings without adding much weight or bulk.
Synthetic insulated jacket
I choose a synthetic option when I expect wet weather or prolonged damp conditions. It retains warmth even when wet and dries much faster than down, making it more reliable for unpredictable climates.
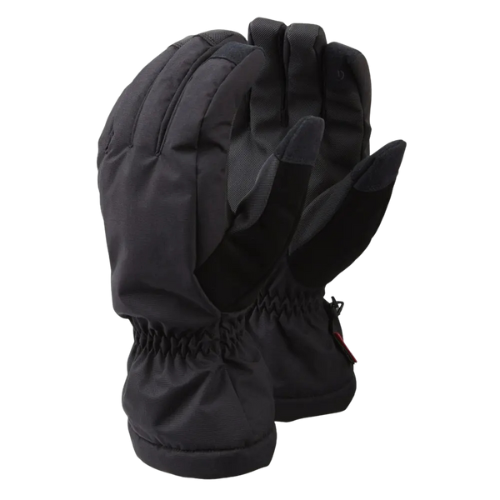
Insulated accessories
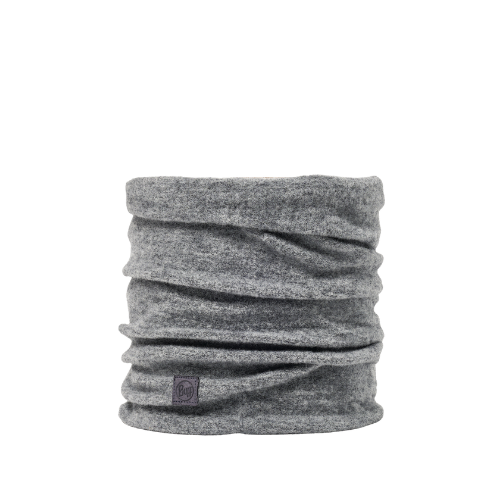
Depending on the trip, I’ll also carry insulated gloves, a warm hat, or an insulated hood to help retain heat when temperatures drop quickly.
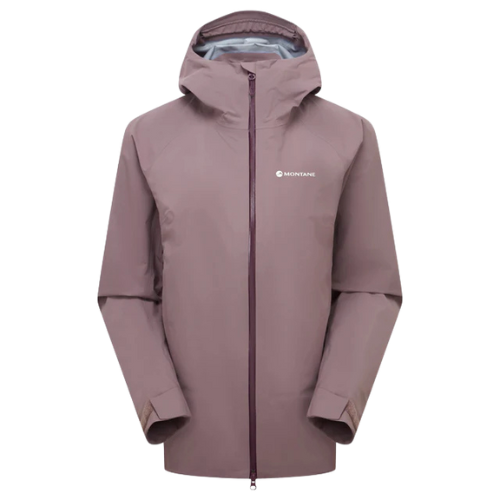
Shell Layers
Shell layers are designed to protect you from wind, rain, and harsh weather. This is the layer that shields everything underneath and often makes the biggest difference to comfort in poor conditions.
I don’t wear a shell all the time, but when the weather turns, it becomes essential. A good shell allows the rest of your clothing system to work properly without getting soaked or stripped of warmth by wind.
Softshell vs Hardshell
Hardshell jackets
Fully waterproof and windproof
Best for sustained rain and harsh conditions
Slightly less breathable
Softshell jackets
More breathable and comfortable while moving
Better for dry, windy, or lightly damp conditions
Not fully waterproof
I tend to use a hardshell for wet weather and longer trips, and a softshell when conditions are dry but exposed or windy.
Worn over all other layers
Added when rain or wind increases
Paired with insulation for warmth
Packed away when conditions improve
A good shell layer allows me to adapt quickly to changing weather without needing to swap out the rest of my clothing.
How I Use a Shell Layer
This layer is usually worn over all other clothing and paired with insulation in cold or windy conditions.
Waterproof Jackets & Trousers
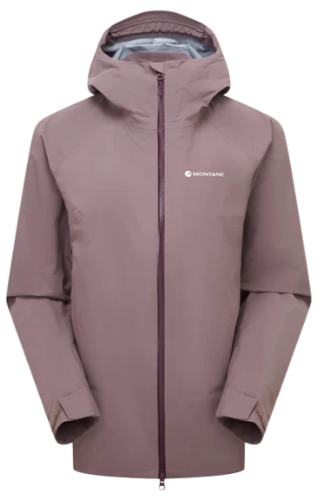
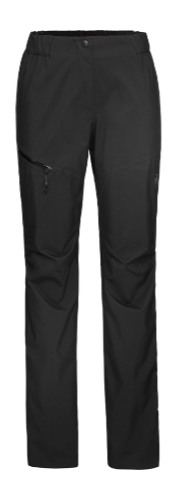
A reliable waterproof jacket is something I carry on almost every trip, particularly in the UK or anywhere with unpredictable weather. Even on days that start dry, conditions can change quickly.
When choosing a waterproof jacket, I prioritise:
Waterproofing that holds up in prolonged rain
Breathability to reduce overheating
A good hood that moves with my head
Enough room to layer underneath
This layer is usually worn over all other clothing and paired with insulation in cold or windy conditions.
Footwear
A good footwear choice makes a bigger difference to comfort and safety than almost any other piece of gear. I adapt my footwear depending on terrain, distance, weather, and pack weight rather than sticking to one option year-round.
Footwear is one of the areas where there is no single perfect choice. What works best depends entirely on the trip.
Hiking Boots
Hiking boots are my go-to choice for rough terrain, colder conditions, and trips where I am carrying a heavier pack. The added ankle support and protection make a noticeable difference on uneven ground.
I tend to choose boots when:
• Carrying a heavy pack
• Hiking in wet or boggy conditions
• Travelling in colder seasons
• Covering technical or rocky terrain

Trail Runners
Trail runners are lighter, more breathable, and more comfortable for long days of movement. I use them for faster-paced trips, dry conditions, or when pack weight is low.
I tend to choose trail runners when:
• Conditions are dry or mixed
• Pack weight is minimal
• I want to move faster or cover longer distances
• Breathability is more important than waterproofing
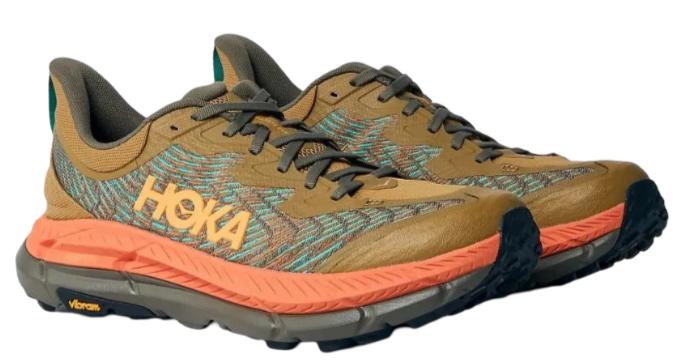
I don’t default to one or the other. I consider the terrain, expected weather, and the amount I’m carrying, then choose the option that will keep me comfortable and moving efficiently throughout the trip.
Comfort and injury prevention matter more to me than saving a small amount of weight, especially on longer or more demanding days.
How I choose between boots and trail runners
• Comfort over long distances
• Grip appropriate for terrain and conditions
• Support that matches pack weight
• Breathability balanced with weather protection
• Reliability in wet and uneven ground
Footwear I prioritise
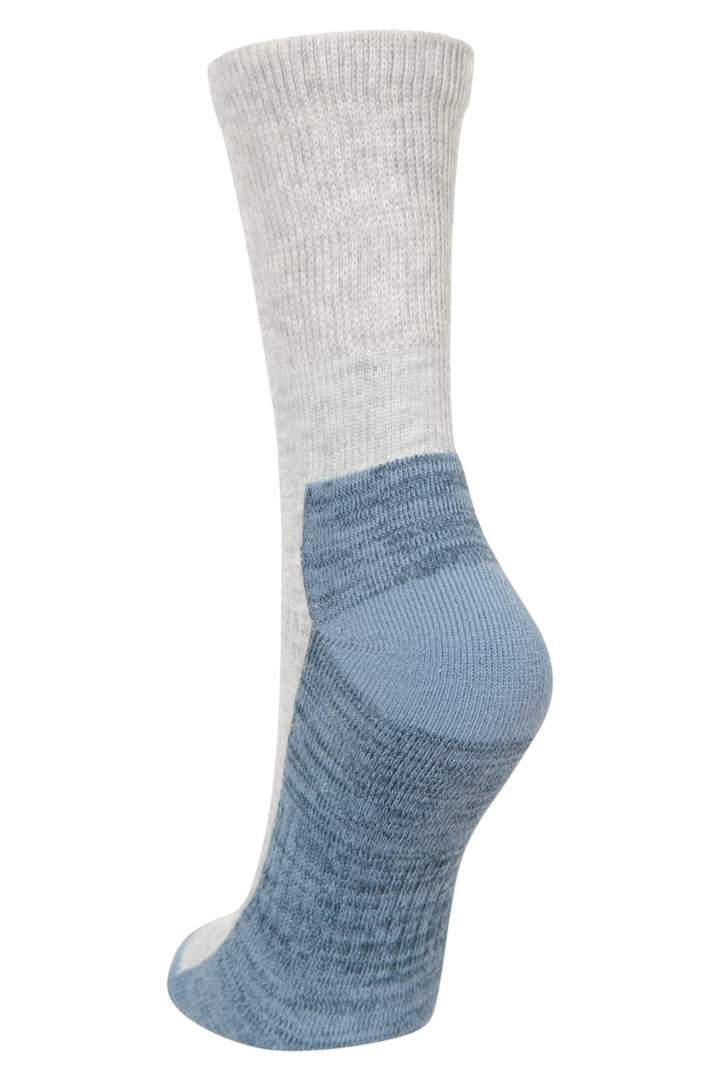
Socks
Socks play a much bigger role in comfort than most people realise. The right socks help manage moisture, regulate temperature, and reduce friction over long days on my feet. I adjust my sock choice depending on conditions, trip length, and footwear.
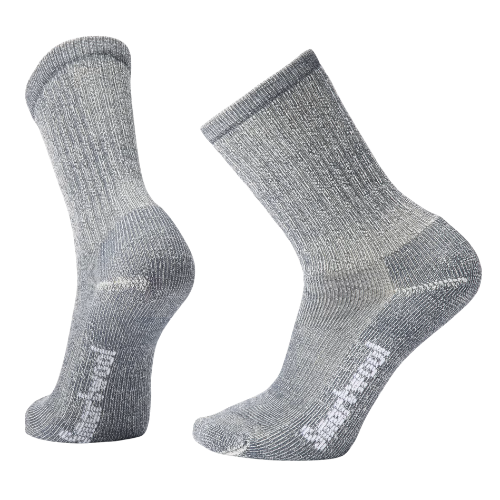
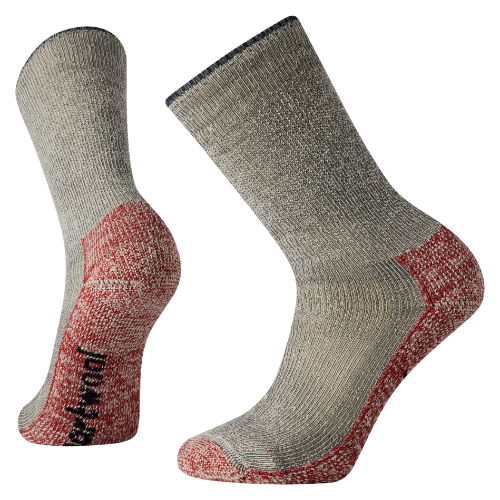
Merino Wool Socks
Merino wool socks are my default choice for most hiking and camping trips. They regulate temperature well, stay warm when damp, and don’t hold odour in the same way synthetic socks do.
I tend to choose merino socks when:
I’m hiking in cooler or variable conditions
I expect damp weather or wet ground
I’m wearing boots for longer days
I want comfort over multiple days without washing
Synthetic/ Blend Socks
Synthetic socks are lighter, dry faster, and can feel cooler in warm conditions. I use them less often, but they still have a place in my kit for specific trips.
I tend to choose synthetic socks when:
Conditions are hot and dry
I want maximum breathability
I’m wearing trail runners
I expect to get wet and dry out quickly
How I choose socks
Sock choice comes down to moisture management and comfort over time. I prioritise socks that fit well, don’t bunch or rub, and work with the footwear I’m wearing. Blisters and cold feet are usually the result of poor sock choices rather than bad boots or shoes.
I’d rather carry a pair of socks I trust than try to save weight here.
Gaiters
Gaiters are one of those pieces of gear I don’t use all the time, but when I need them, they make a huge difference. They help keep water, mud, snow, and debris out of my footwear and protect my lower legs in rough or wet conditions.
I choose whether or not to carry gaiters based entirely on terrain and weather.
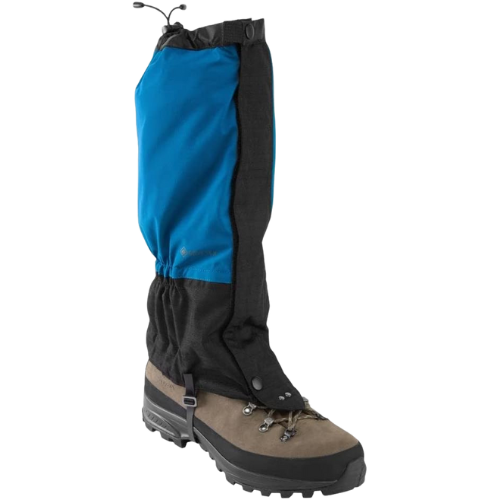
Low Gaiters
Low gaiters are lightweight and unobtrusive, and I use them mainly to keep dirt and small stones out of my shoes.
I tend to use low gaiters when:
Wearing trail runners
Hiking on dry or dusty trails
Moving quickly and covering distance
I want debris protection without added bulk
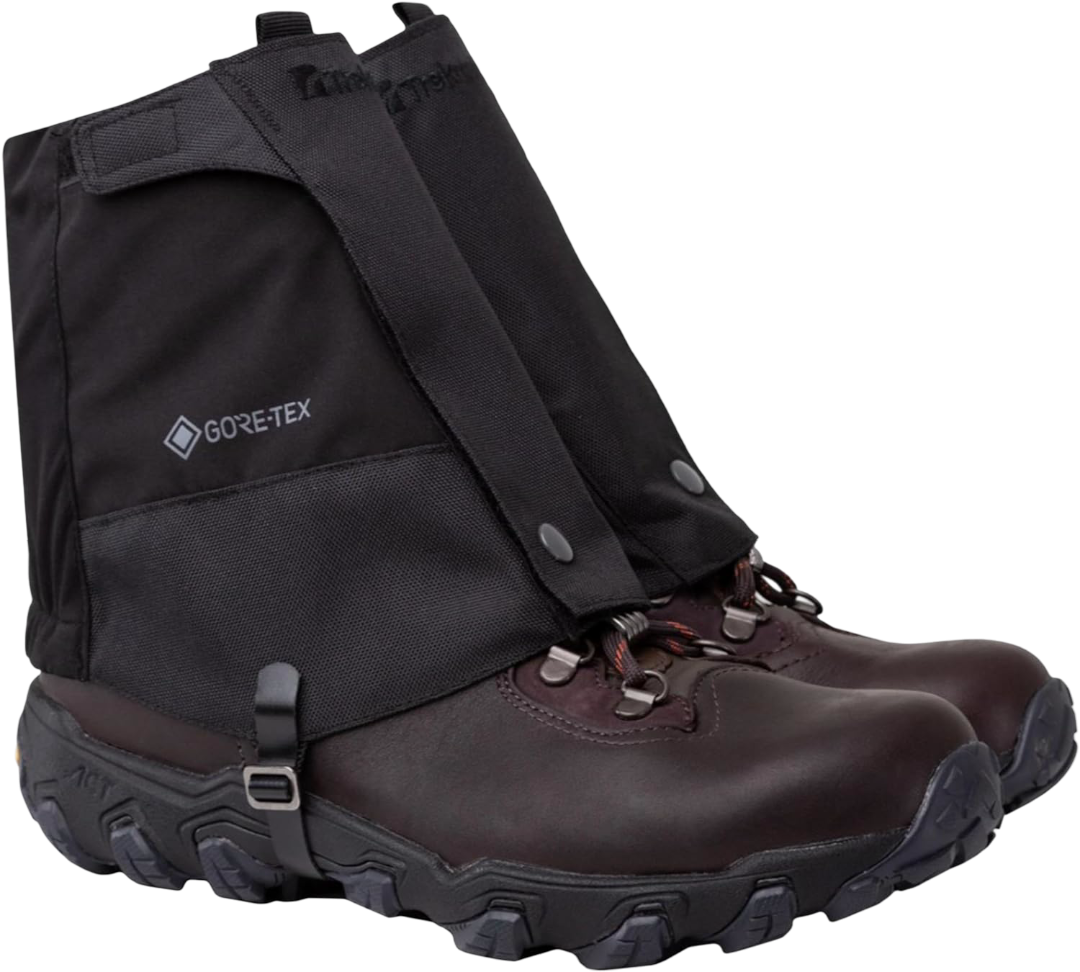
Full Length Gaiters
Full-length gaiters offer much more protection and are essential in wet, boggy, snowy, or overgrown terrain. They also help keep trousers drier in prolonged rain.
I tend to use full gaiters when:
Hiking in boggy or muddy conditions
Moving through wet grass or snow
Wearing boots
The weather is consistently poor
I don’t automatically pack gaiters for every trip. If conditions are dry and trails are clear, I leave them behind. But in wet UK conditions or off-trail terrain, gaiters quickly become worth their weight by keeping my feet drier and more comfortable for longer.
They’re a situational layer, but one I rely on when conditions demand it.
How I decide whether to carry gaiters
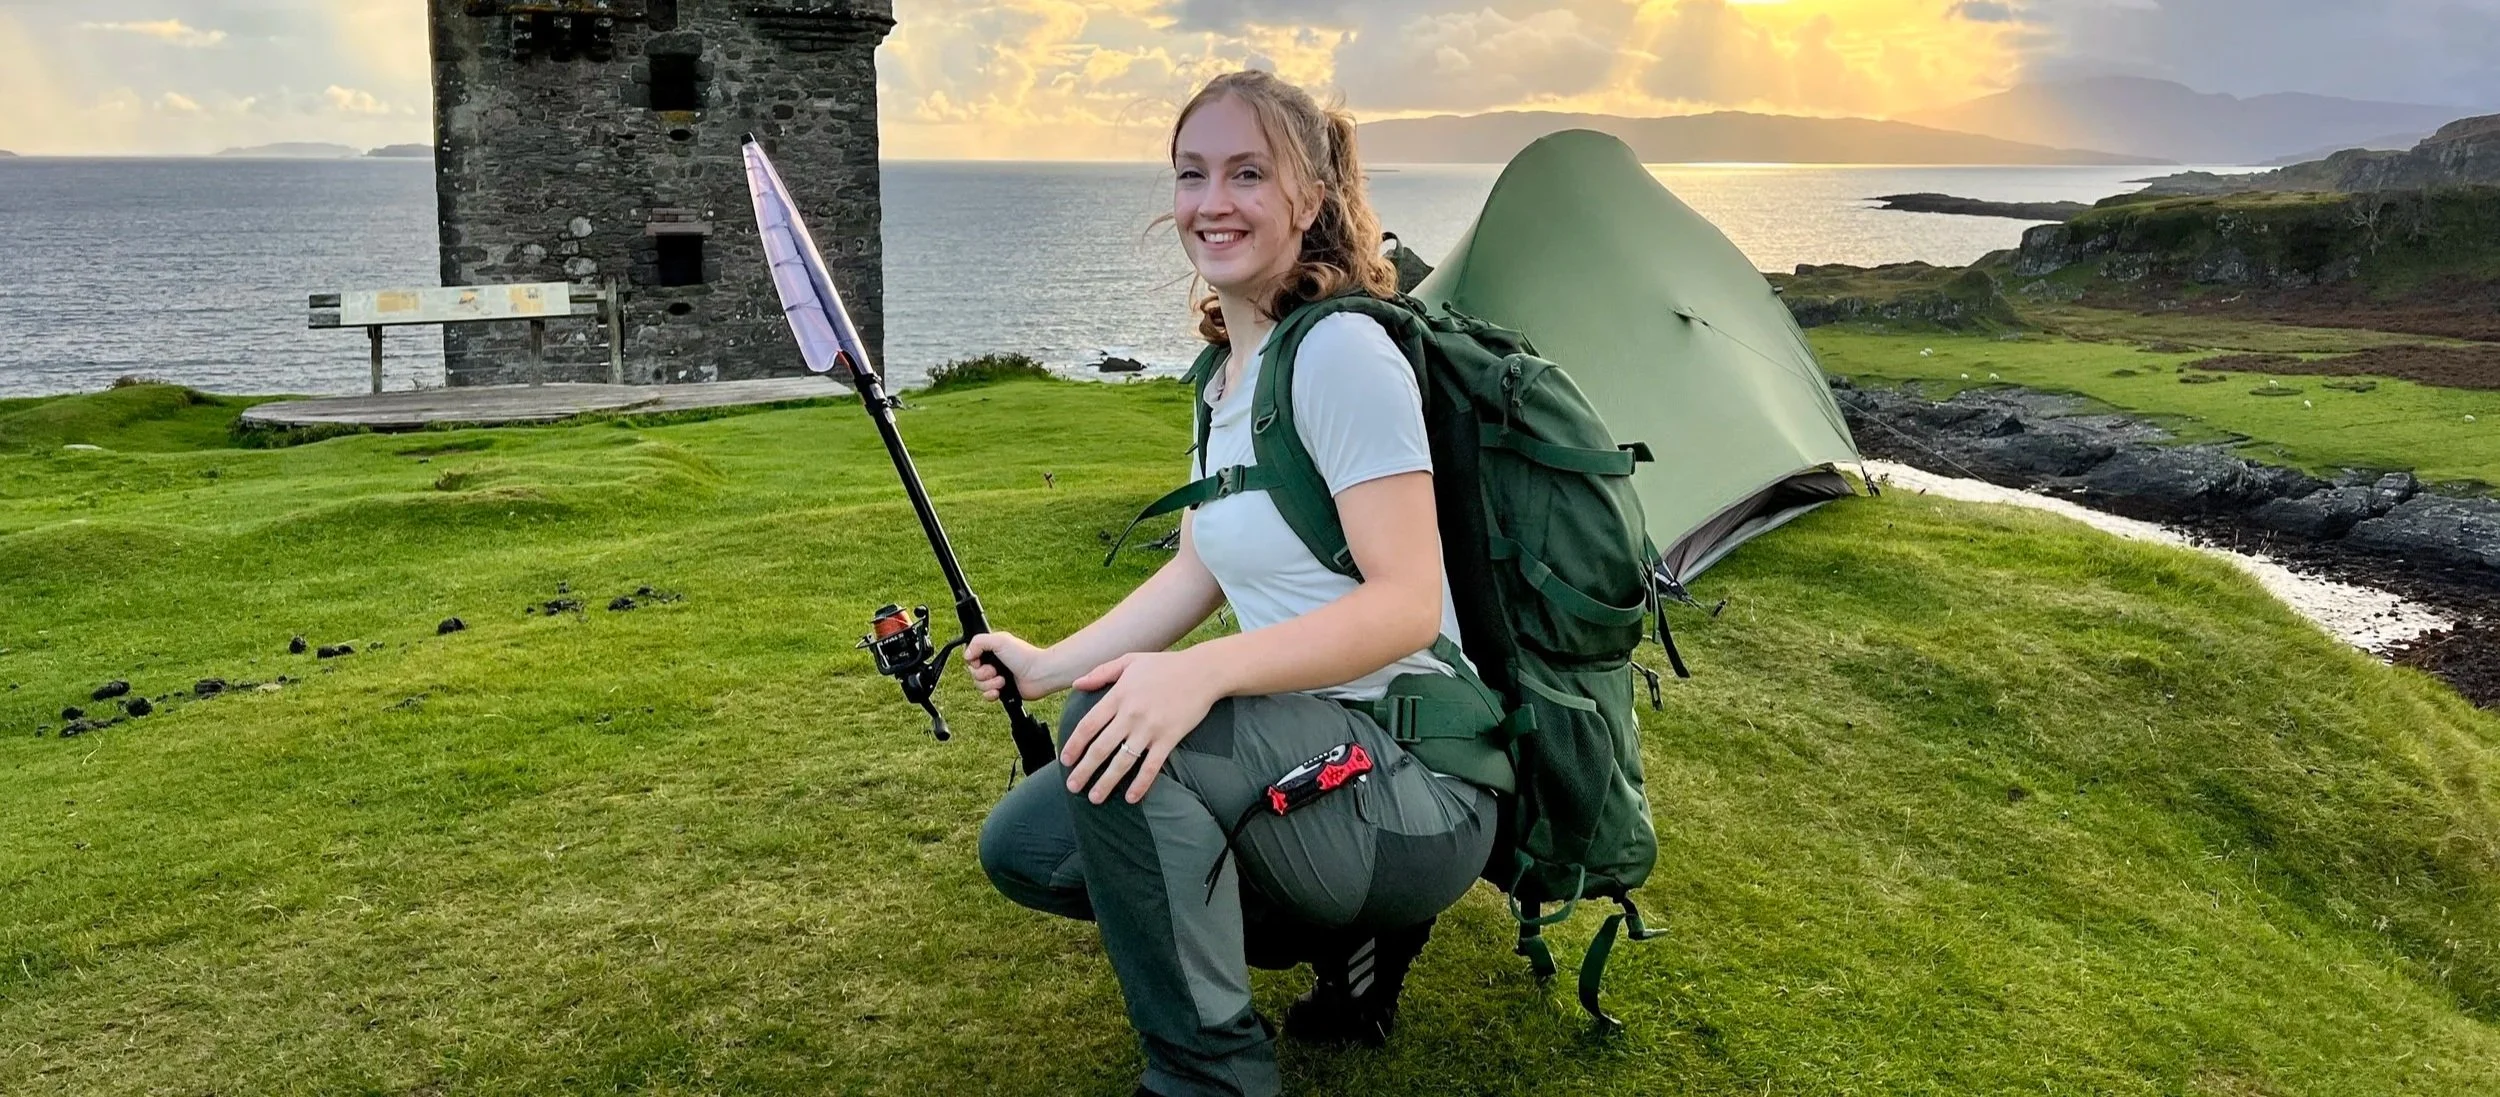
Your backpack dictates how comfortable your entire trip feels. No matter how good the rest of your gear is, a poorly fitting or overloaded pack will ruin long days on the trail.
I don’t use one backpack for everything. I choose my pack based on trip length, the amount of gear I’m carrying, and how technical the terrain is.
Backpacks & Carry Systems
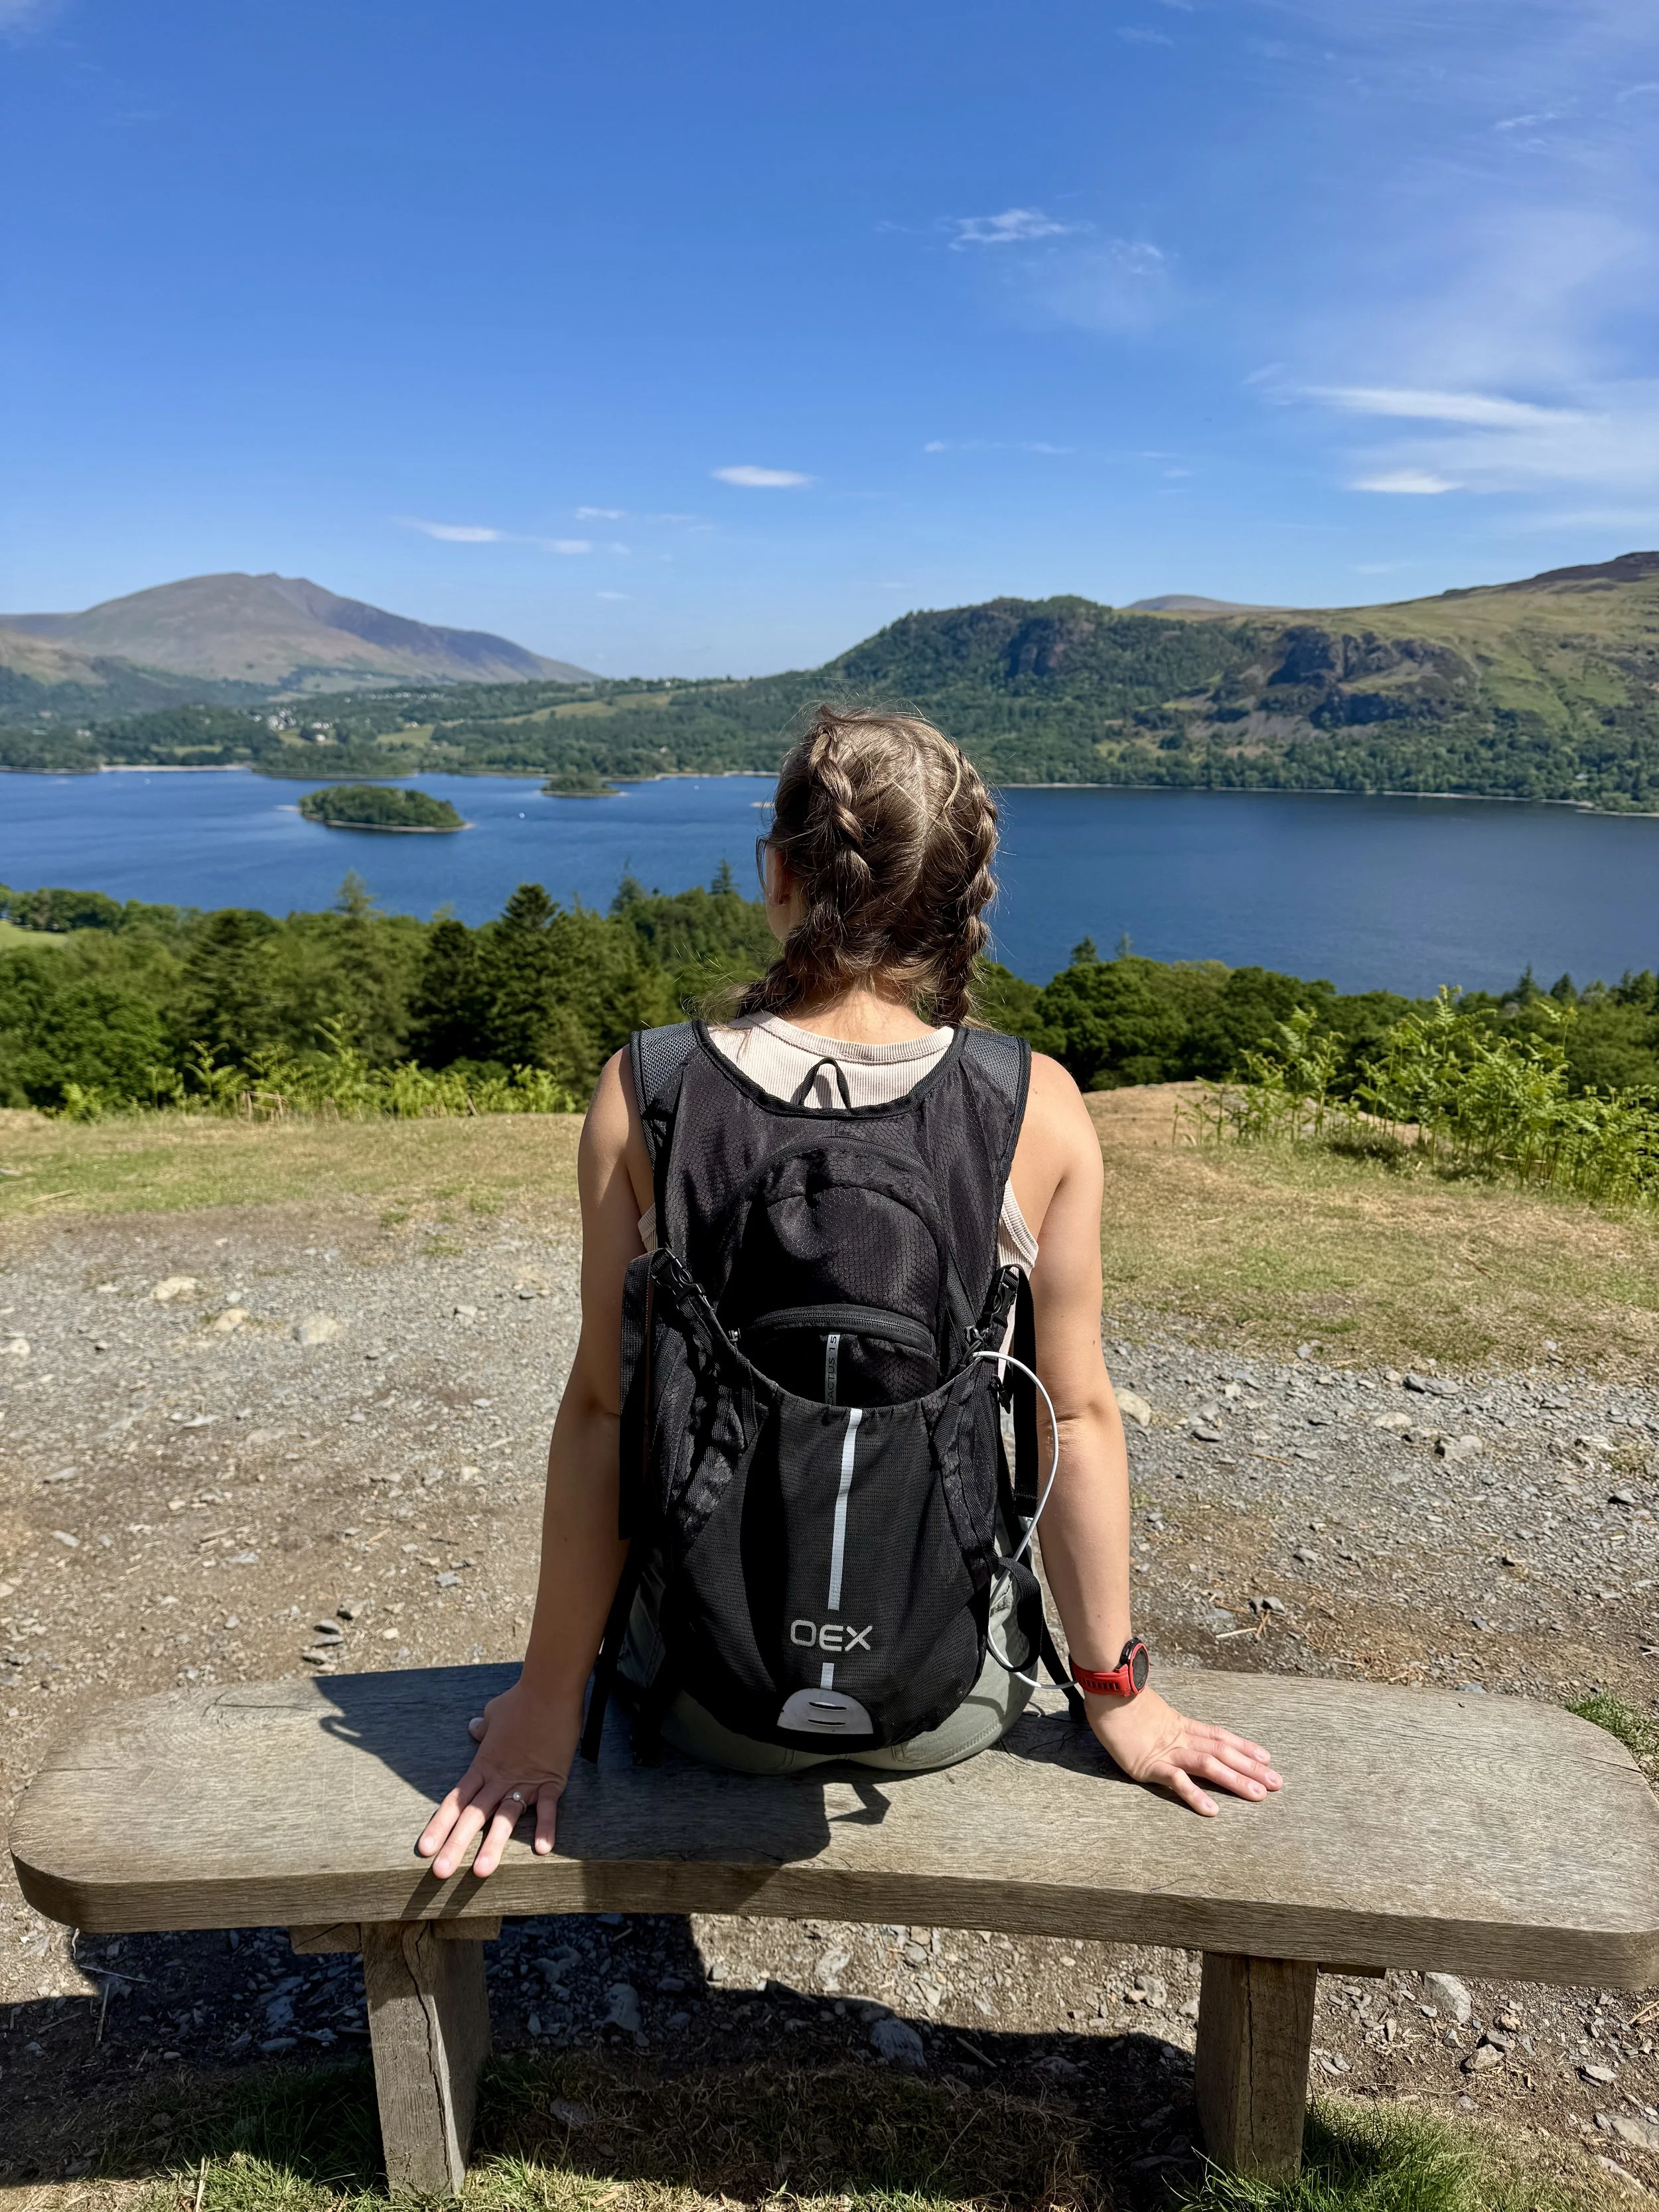
Daypacks
For day hikes and lighter loads, I use smaller, streamlined daypacks that keep weight close to my body and allow for easy movement.
I tend to use a daypack when:
Hiking for a single day
Carrying minimal layers, food, and water
Conditions are fairly predictable
I want freedom of movement and comfort
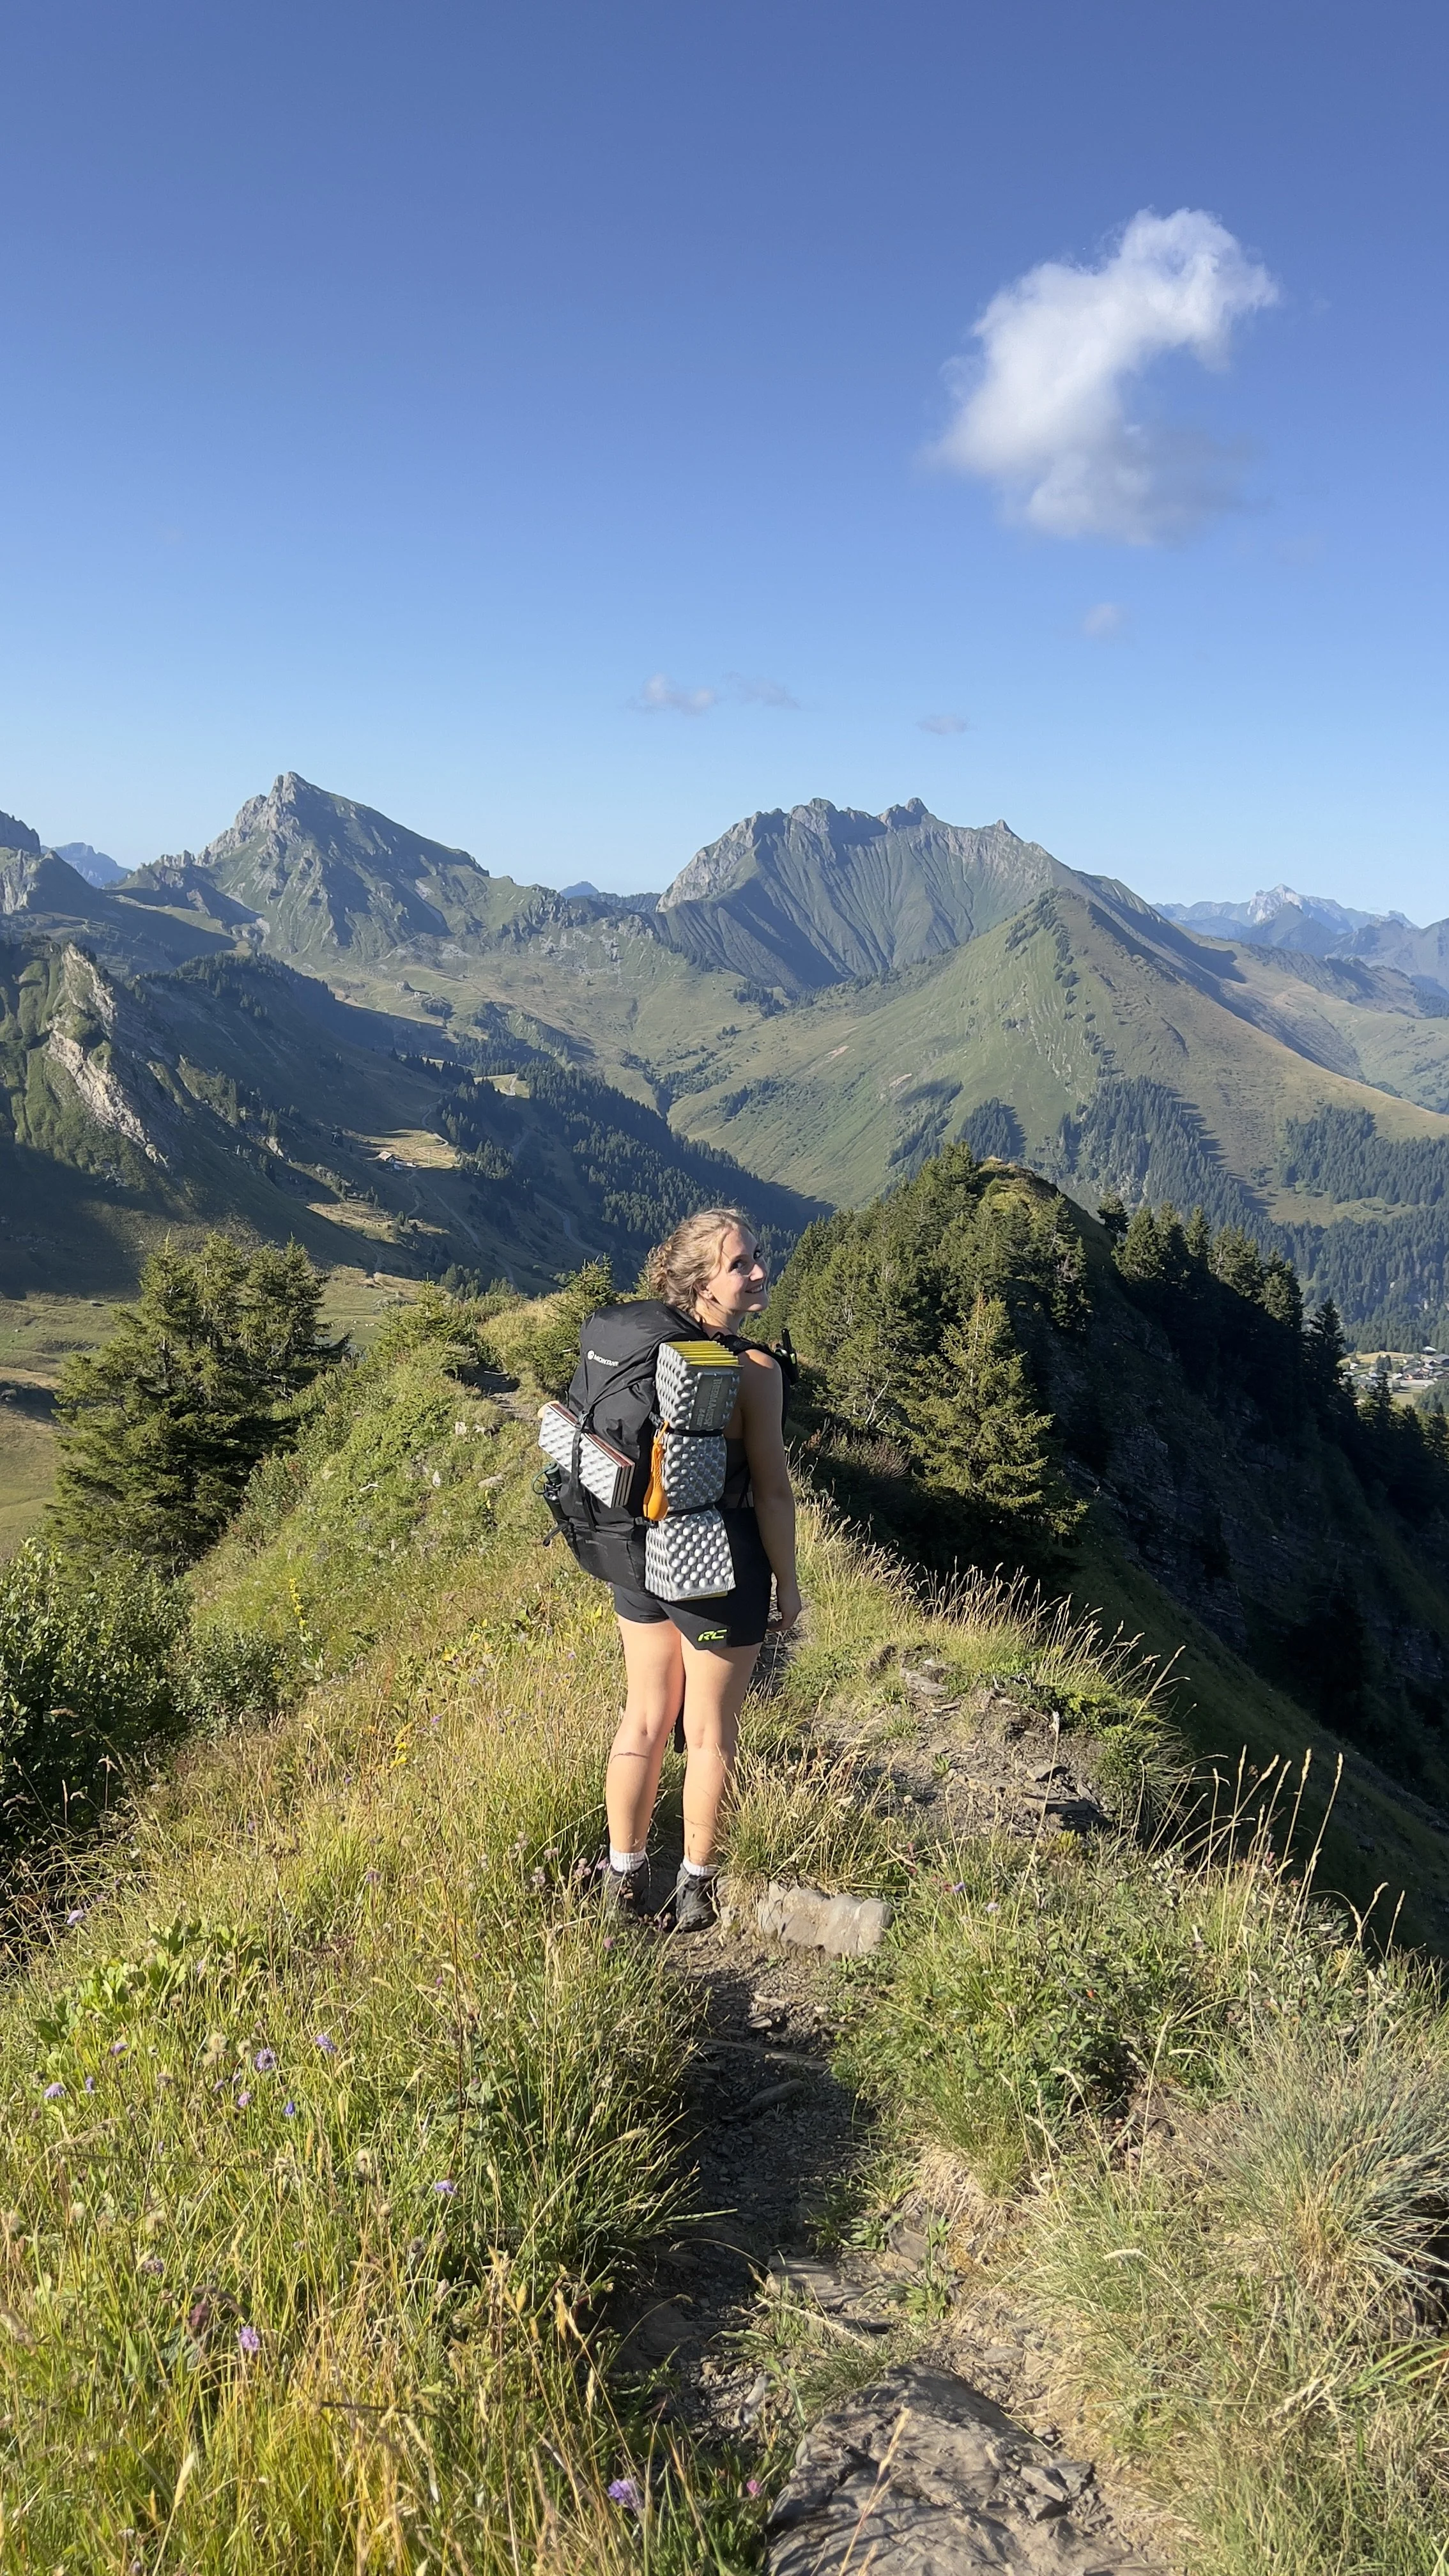
For overnight trips and longer adventures, I switch to a larger backpack designed to carry weight comfortably over longer distances.
I tend to use a multi-day pack when:
Camping overnight or longer
Carrying shelter, sleep systems, and food
Extra layers or safety gear are required
Weight distribution becomes more important
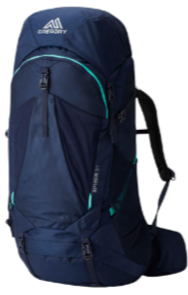
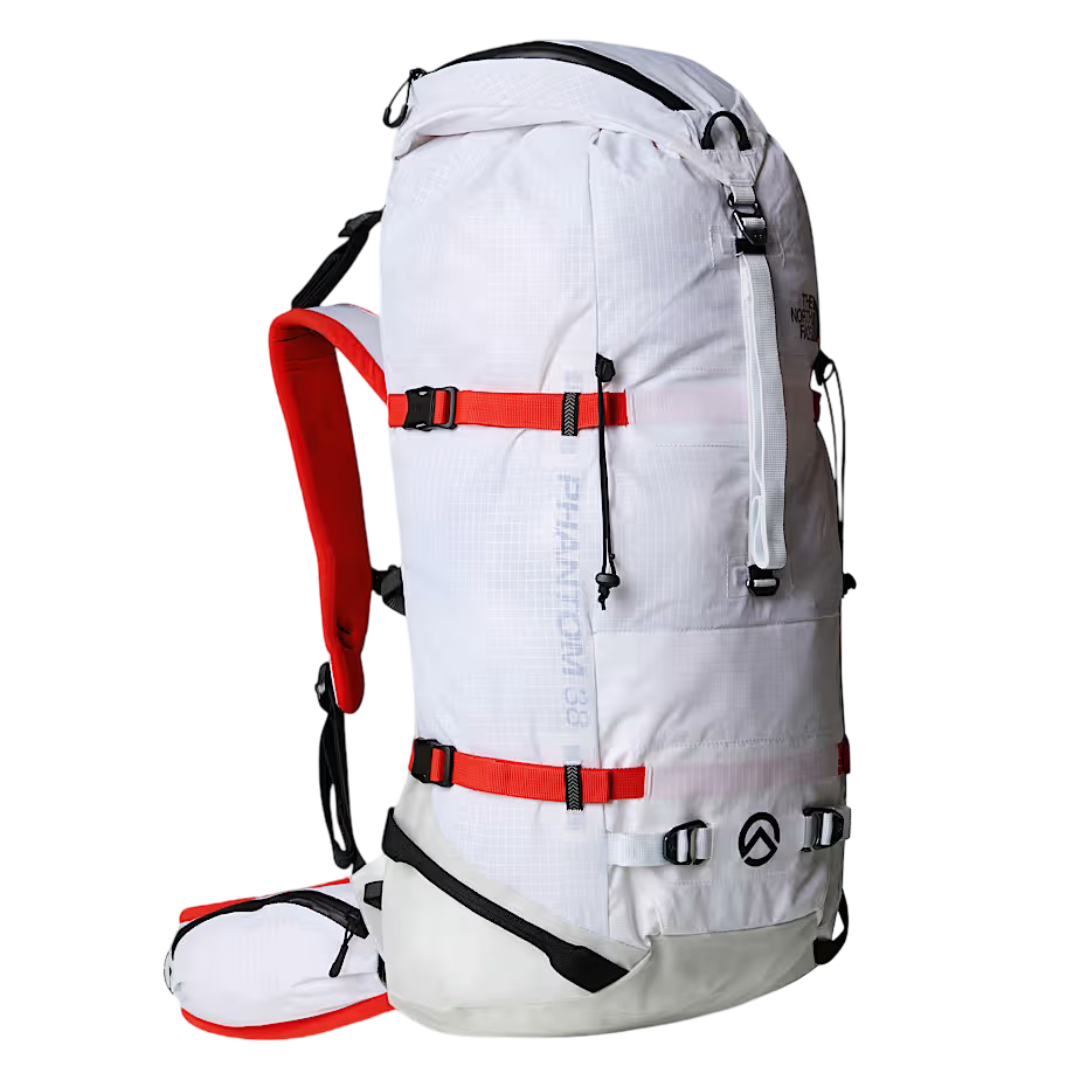
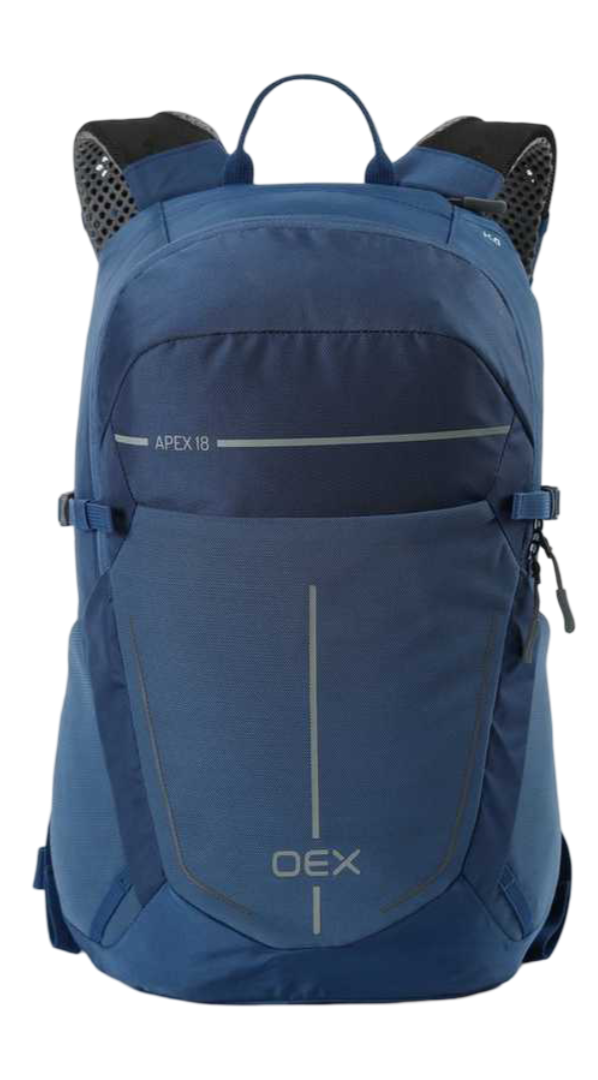
Multi-day Backpacks
How I choose a backpack
Fit and comfort matter more to me than capacity alone. A good pack should carry weight efficiently, sit comfortably on my hips, and allow easy access to gear throughout the day. I also consider how well it works with my clothing system and how stable it feels on uneven terrain.
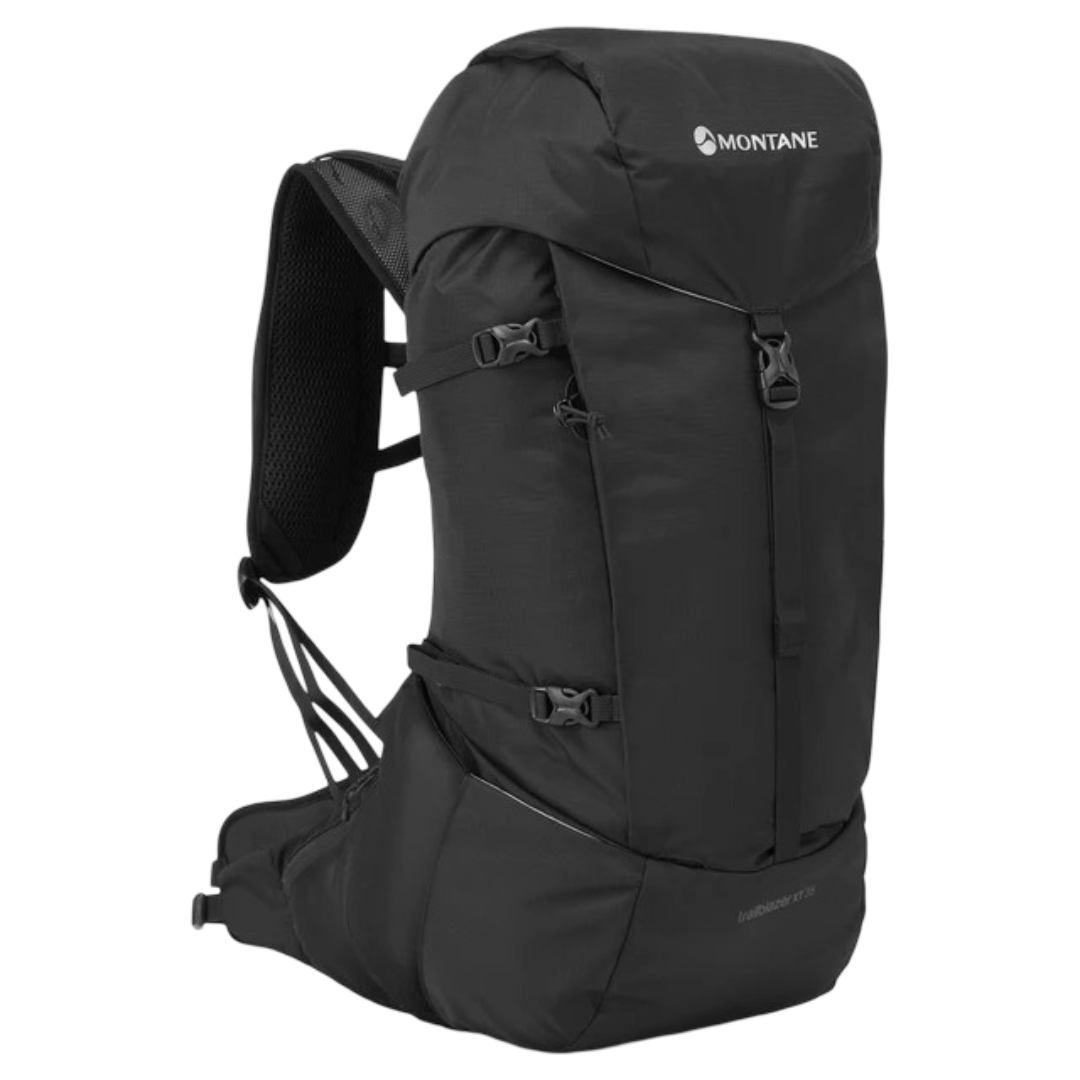
Examples of the packs I use across different trips:
Want a deeper breakdown?
If you’re choosing a new backpack or want a more detailed guide on sizing, fit, capacity, and features, I’ve written a full post that goes into everything in more depth.
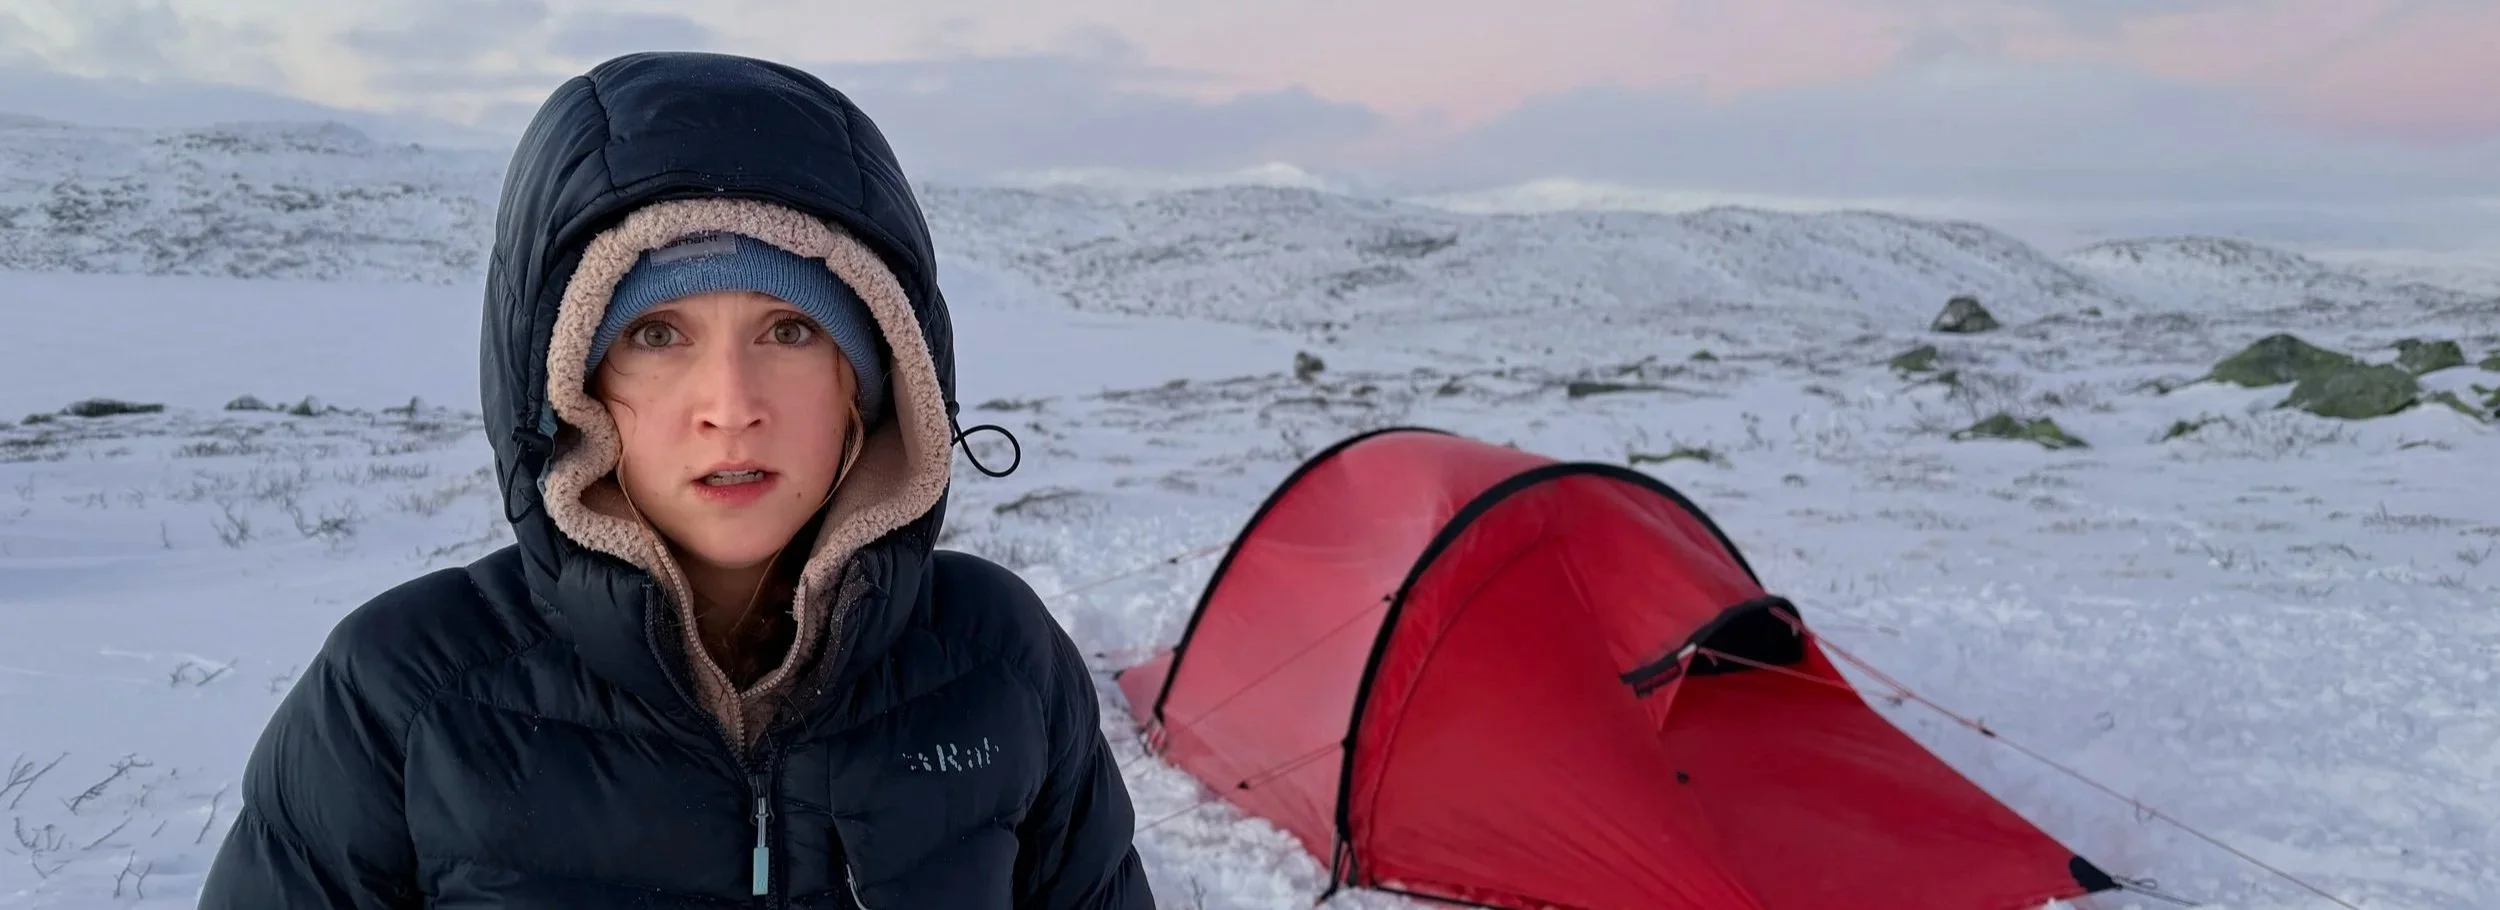
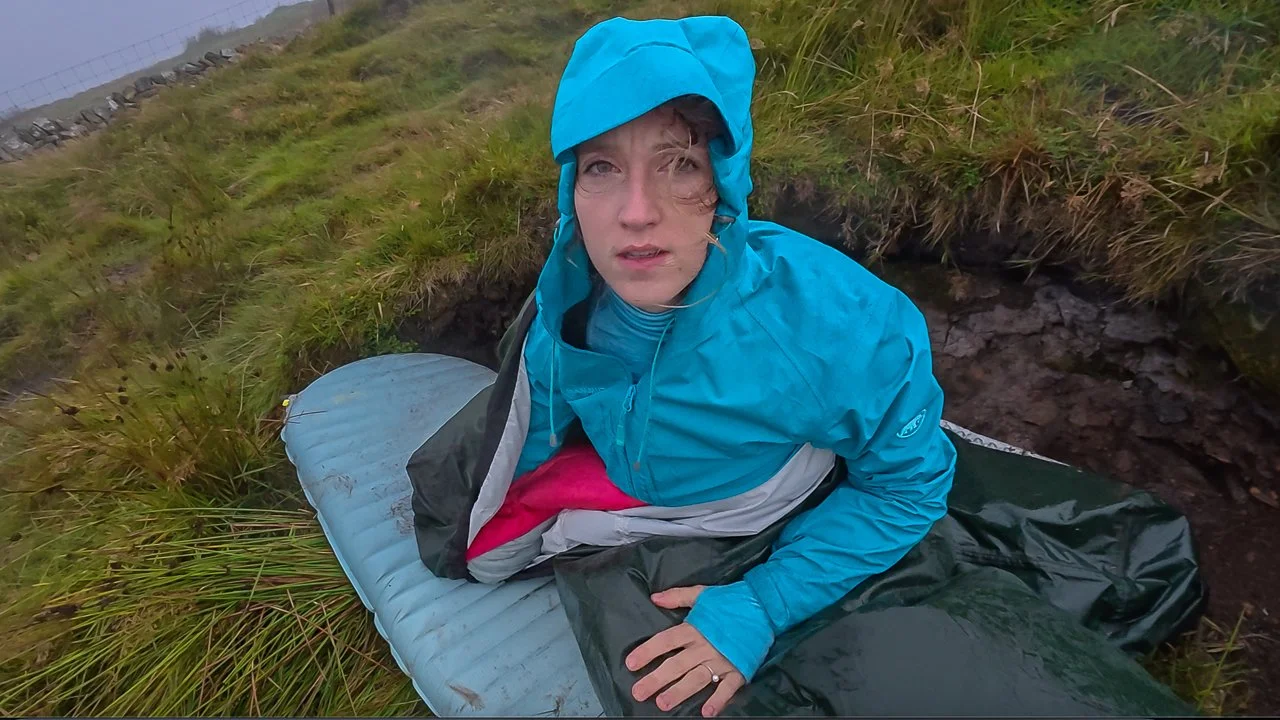
My shelter and sleep setup needs to balance comfort, durability, and weight. It’s a core part of how I stay warm, dry, and rested in the outdoors, and I adjust it depending on the conditions and trip length.
Camping & Sleep Systems
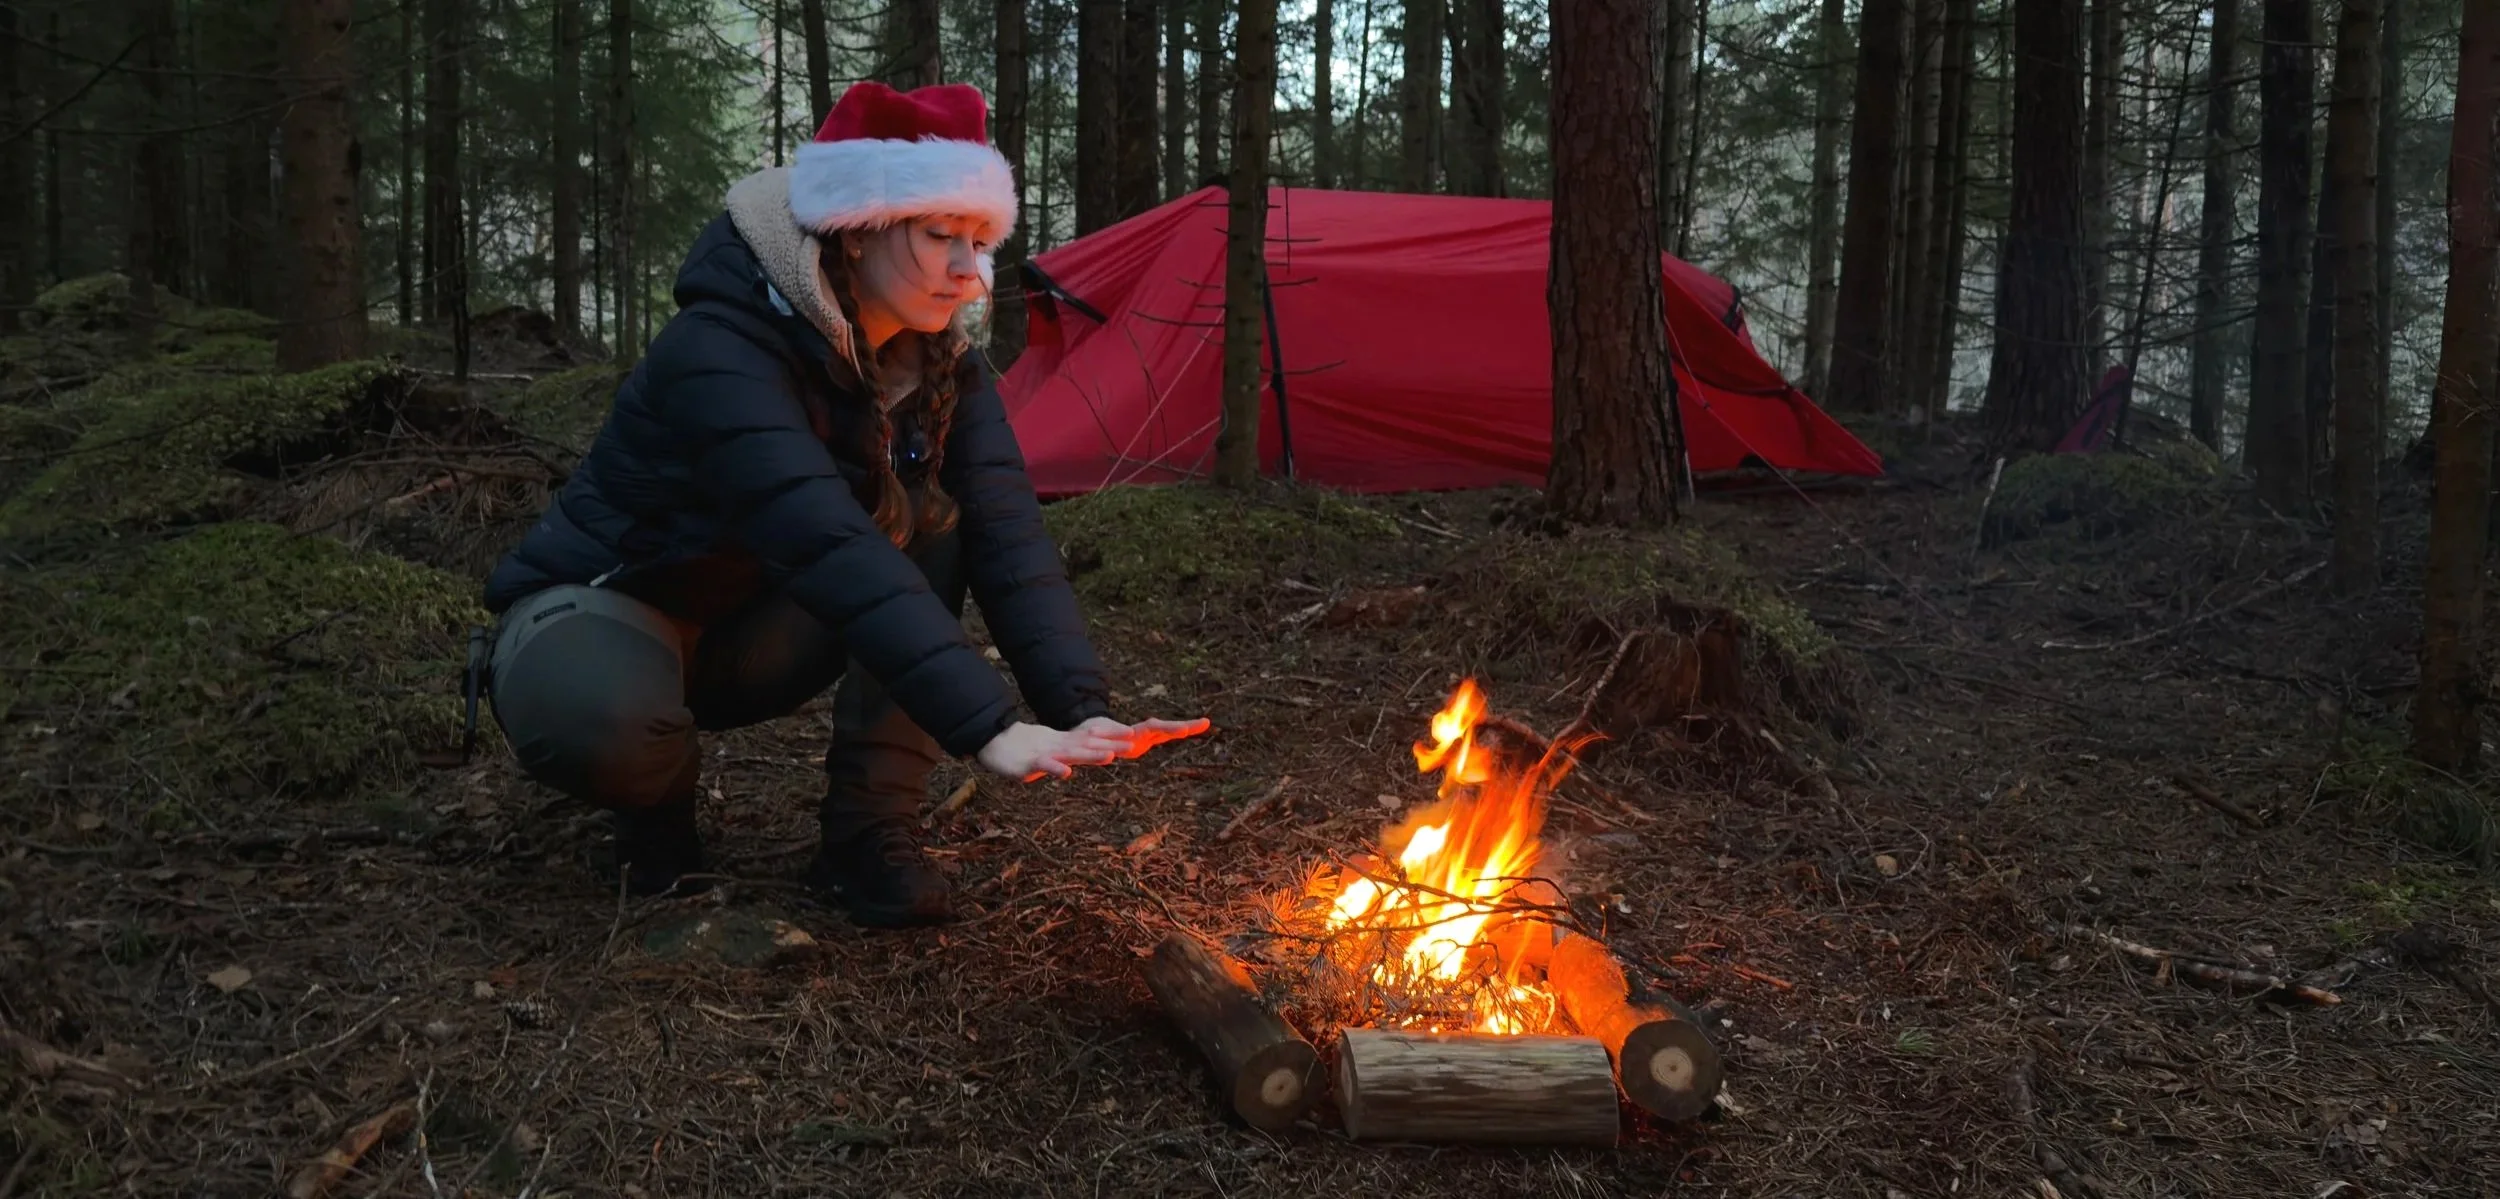
Shelter
My primary shelter options include lightweight tents and simple tarp setups. The goal is always to balance weather protection, ease of setup, and overall pack weight.
I tend to choose a tent when:
The weather is changeable or harsh
I expect wind, prolonged rain, or colder conditions
Bugs are likely to be an issue
I want a more enclosed, secure space
I tend to use a tarp when:
Keeping weight as low as possible is a priority
Conditions are settled and predictable
I want better airflow and a more open setup
I’m comfortable adapting my pitch to the environment

A simple tarp setup in settled conditions
How I Choose a Sleep Setup
I choose my sleep setup based on the lowest temperatures I expect to face and how many days I’ll be out. I also factor in wind exposure, ground conditions, and whether I’ll be camping in sheltered areas or more exposed locations. Comfort and warmth overnight are non-negotiable for me, especially on multi-day trips where recovery matters.
My sleep system usually consists of a sleeping bag or quilt, a lightweight insulated sleeping pad, and occasionally a liner if I need extra warmth.
I tend to use a warmer, insulated sleeping bag when:
Nighttime temperatures are near freezing or below
I expect prolonged cold, wind, or damp conditions
I’m camping early or late in the season
I tend to use a lighter quilt or sleep system when:
Nights are mild and above freezing
Weight and pack space matter more
Conditions are dry and stable
Sleep System
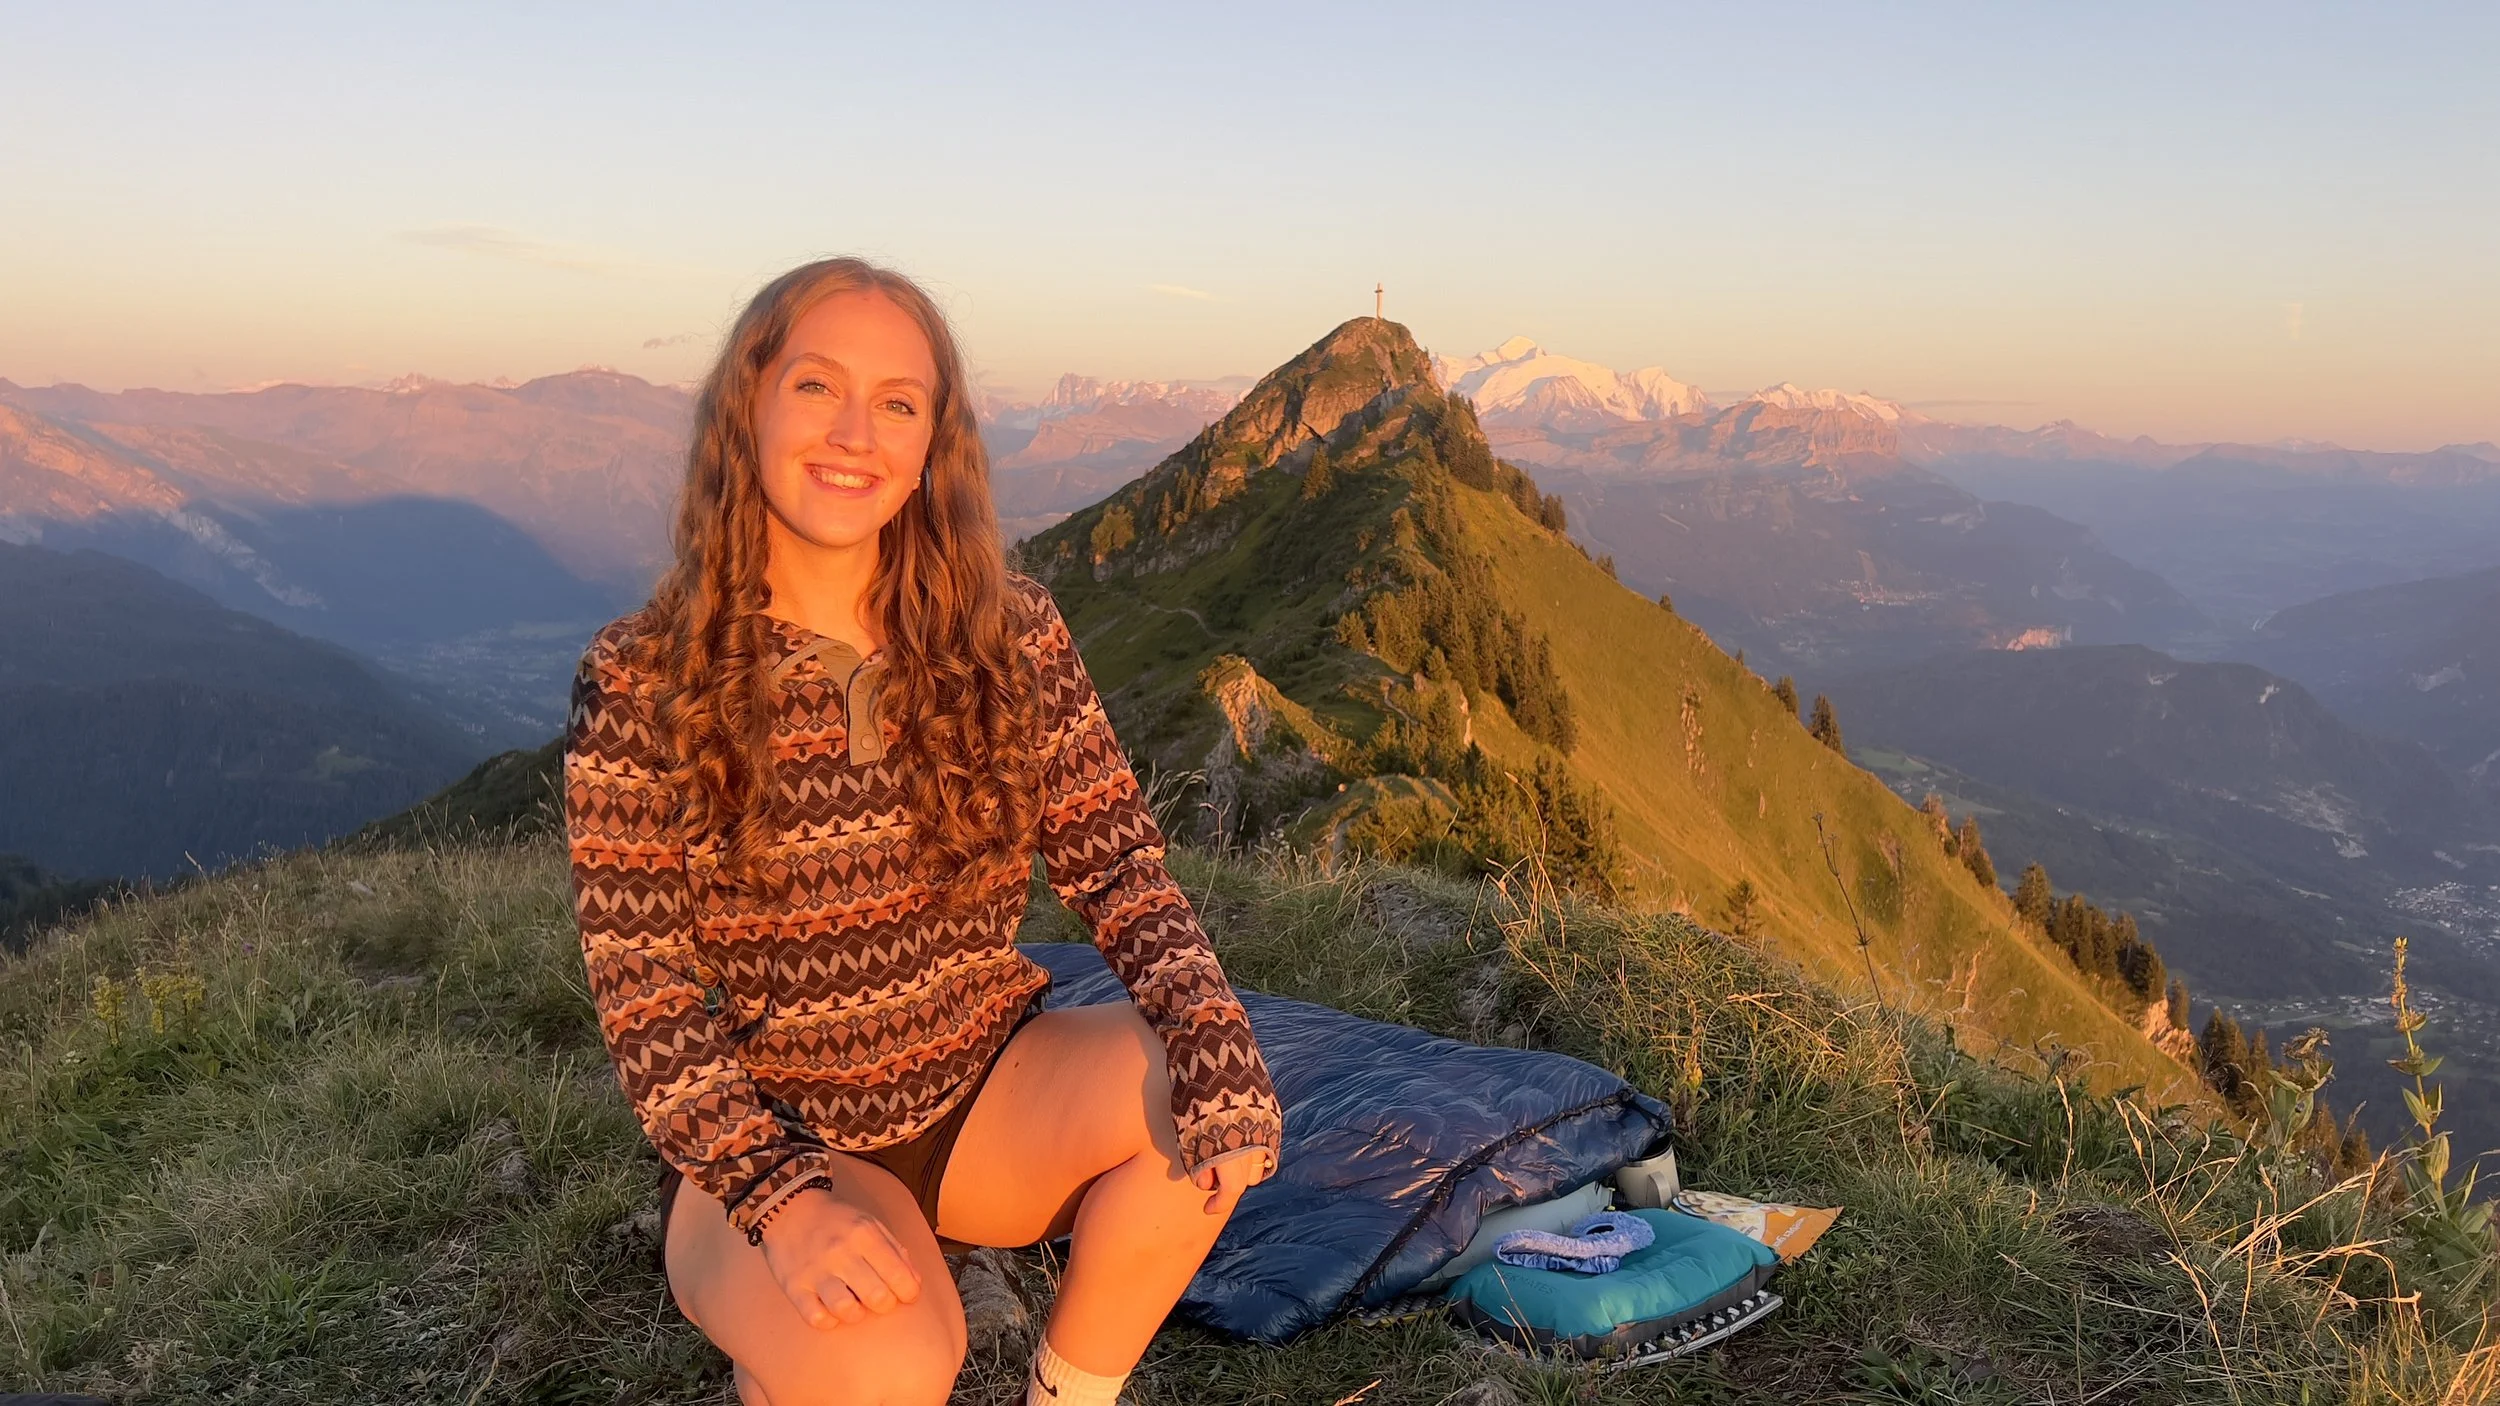
My typical sleep setup on mild multi day trips
Cooking & Food Systems

My cooking setup is all about simplicity, reliability, and efficiency. I adjust how much I bring depending on trip length, weather, and how much effort I want to put into meals. The goal is always enough fuel and calories without unnecessary weight or complexity.
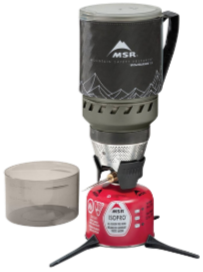
Cooking Setup
For most trips, I rely on a lightweight stove and a single pot setup. This keeps things simple while still allowing me to cook hot meals and boil water efficiently.
I tend to carry a stove when:
I’m camping overnight or longer
Hot meals will boost morale or recovery
Conditions are cold, wet, or windy
I need to reliably boil water
On very short trips or in warm conditions, I may skip cooking entirely and rely on no-cook meals to save weight and time.
Food Choices
I prioritise food that is calorie-dense, easy to prepare, and packs well. Meals need to be quick, satisfying, and realistic to eat when tired or cold.
I tend to choose foods that are:
Lightweight with high calorie return
Quick to cook or prepare
Easy to eat even when conditions are poor
Familiar and tested on previous trips
I also factor in how hungry I’ll be and how much energy I’ll need based on distance, elevation, and weather.

Cooking gear and food are one of the easiest places to overpack. I try to strike a balance between carrying enough to stay fuelled and keeping my pack manageable.
On shorter trips, I keep things minimal. On longer or colder trips, I’m more willing to carry extra fuel or slightly heavier food if it means better recovery and morale.
How I Balance Weight vs Comfort
Water & Hydration
Staying hydrated is one of the most important parts of any trip. I plan my water system carefully depending on distance, weather, and how reliable water sources are along the route. Carrying too little can be dangerous, but carrying too much adds unnecessary weight.
My approach is to carry what I need between sources and have a reliable way to treat water on the go.
Carrying Water
For most trips, I carry water in bottles or a soft flask setup that’s easy to access while moving. Easy access matters more to me than total capacity, as it helps me drink consistently throughout the day. I personally avoid water bladders altogether. I find them annoying to refill, difficult to monitor, and far more hassle than they’re worth.
I tend to carry more water when:
Conditions are hot or exposed
Water sources are limited or unreliable
Distances between refills are long
I’m working harder or carrying more weight
On cooler days or in areas with frequent streams, I carry less and rely more on refilling as I go.
Water Treatment & Filtration
I almost always carry some form of water treatment, even on shorter trips. This gives me flexibility and reduces how much water I need to carry at any one time.
I tend to treat water when:
Refilling from streams, lakes, or rivers
Camping overnight or longer
I’m unsure about water quality
I want to reduce carried water weight
Having a reliable filtration or treatment method allows me to adapt quickly if conditions change or plans shift.
How I Manage Hydration on Trail
I aim to drink little and often rather than waiting until I’m thirsty. I also pay attention to how temperature, elevation, and effort level affect how much water I need.
On longer or more demanding trips, I’ll add electrolytes to help maintain energy levels and avoid dehydration, especially in warmer conditions.
Safety & Navigation
Safety and navigation are non-negotiable for me. Even on familiar routes or shorter trips, I always carry the basics to stay oriented, manage small issues, and deal with unexpected changes in conditions.
I don’t carry gear “just in case of disaster,” but I do carry enough to stay calm, informed, and self sufficient if something doesn’t go to plan.
Navigation
Personal Locator & Communication
I always carry a satellite communicator, no matter where I’m going, even if I expect to have mobile signal. It gives me a reliable way to share my location and call for help if something goes wrong, and it removes the uncertainty that comes with relying on phone signal alone. When I’m out there, I plan on being fully self-reliant. Ultimately, the only person I can rely on is myself, so I carry the tools I need to handle situations independently.
This allows me to:
Share my location
Check in with contacts
Call for help in an emergency if needed
I don’t rely on mobile signal alone when heading into more exposed or remote areas.
I rely on a combination of digital and physical navigation depending on the trip, terrain, and signal reliability.
For most hikes, I use digital mapping for planning and on-trail reference, but I never rely on a single device.
I typically navigate using:
Offline maps downloaded to my phone
A GPS watch for tracking distance and elevation
A paper map on longer or more remote routes
I choose navigation tools that allow me to check my position quickly without stopping or unpacking my bag.
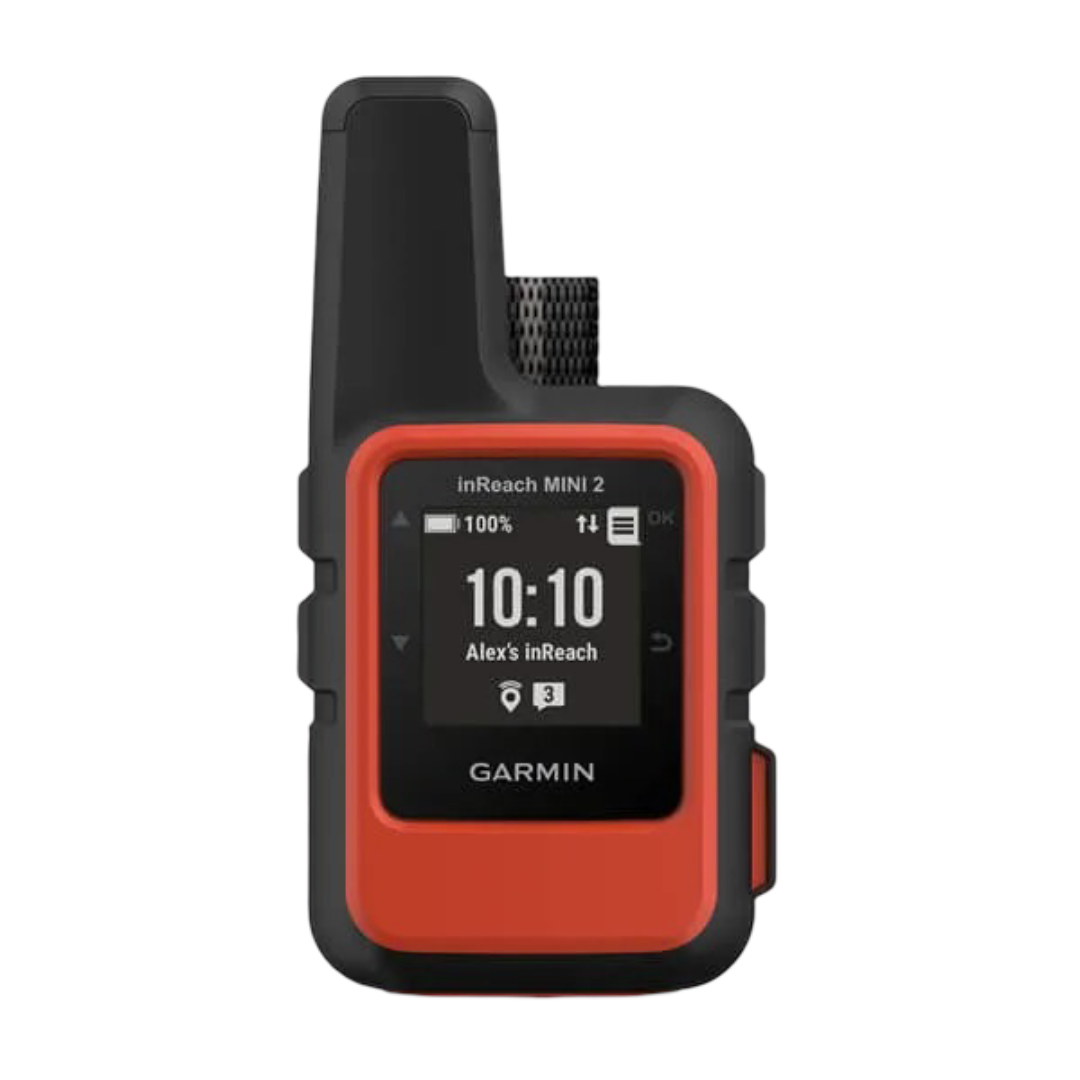
I use the Garmin InReach Mini 2
How I Think About Safety
My approach to safety is about preparation, not fear. I plan routes carefully, check weather forecasts, and adjust my setup based on conditions and terrain.
Good safety gear gives me confidence to move efficiently, make better decisions, and enjoy the trip without constantly worrying about what could go wrong.
Emergency & Safety Essentials
These are items I carry on almost every trip, regardless of distance.
My basic safety kit usually includes:
A headtorch or small torch (even on day hikes)
A basic first aid kit
A whistle for signalling
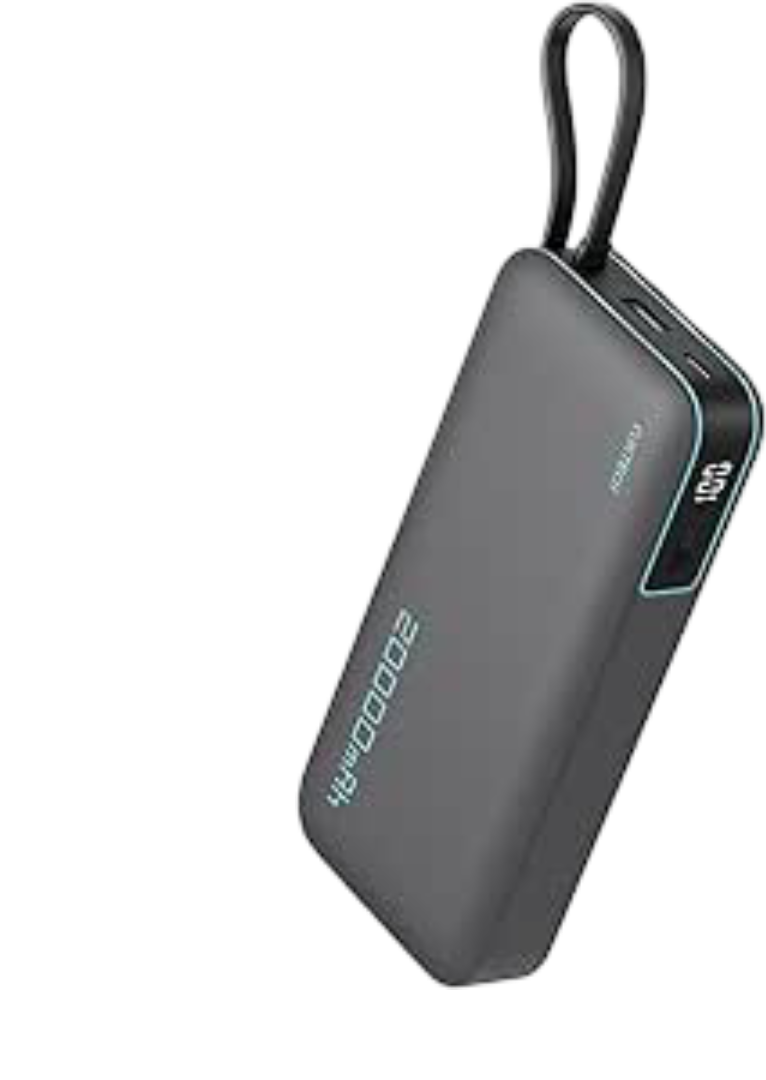
A fully charged phone and a small power bank
Extra layers in case temperatures drop
These items take up very little space but make a huge difference if plans change or delays happen.
Tech & Extras
I keep tech and extra gear deliberately minimal. Everything I carry needs to earn its place by adding real value, whether that’s navigation support, documentation, or basic comfort on longer days.
I avoid carrying tech “just in case” and focus instead on items that genuinely support how I move and travel outdoors.
My core tech setup typically includes:


My core tech setup is simple and consistent across most trips.
I typically carry:
My phone with offline maps downloaded
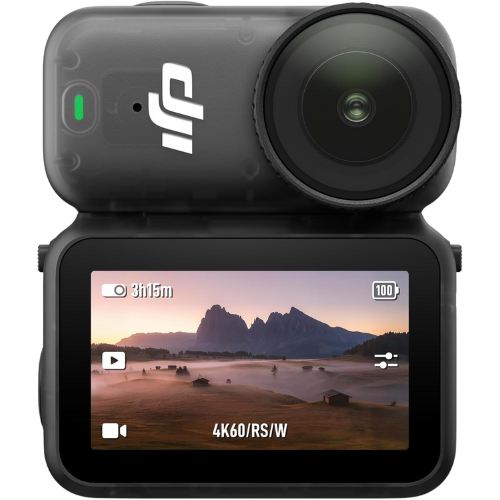
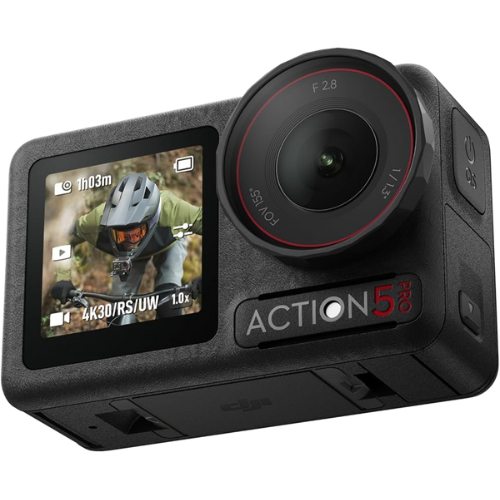
My filming equipment, which is all small & lightweight
A satellite communicator for emergency communication
A reliable power bank to keep essentials charged
This setup gives me redundancy without overcomplicating things.
This category covers items that aren’t essential to every trip but add comfort, flexibility, or quality of life around the edges. Some of these live in my pack, others live in the van and support the trips I’m doing.
I keep this section deliberately minimal; if it doesn’t genuinely improve my experience, it doesn’t come with me.
Extras
On-trip extras
• Sunglasses and sun protection to reduce eye strain and exposure on long, bright days
• Lip balm and hand cream for wind, cold, and dry conditions
• A lightweight sit mat or ground sheet for breaks, lunches, or camp setup
• Earplugs for campsites or windy nights when good sleep matters
Van-based extras
• A portable power station for charging camera gear, lights, and essentials
• Roof tent or van sleep setup for flexible overnight stops
• Extra water storage and food supplies for longer or more remote trips
• Camp comfort items that make recovery between days easier
RoofBunk Roamer Roof Tent
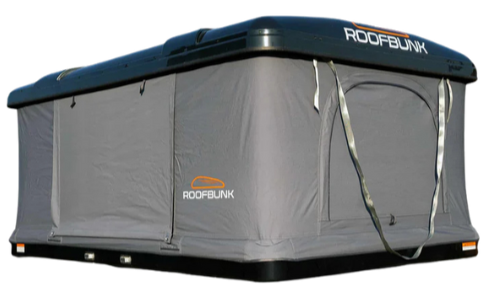
(KATIEROAMS for £50 off!)
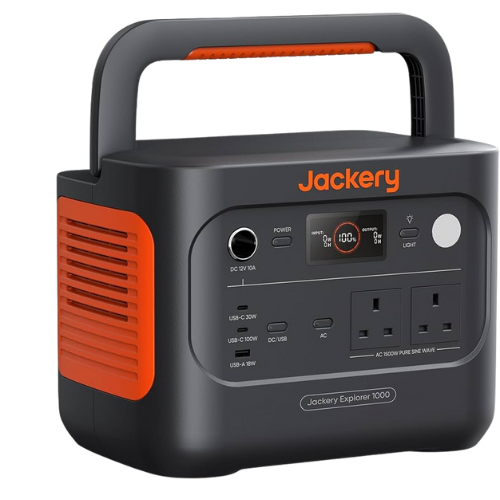
Jackery Explorer 1000 V2
Final Thoughts
Outdoor gear doesn’t need to be complicated, expensive, or excessive. What matters is understanding how different pieces work together and choosing gear that suits the way you actually travel, move, and spend time outdoors.
My approach is built around systems rather than individual products. I prioritise comfort, reliability, and adaptability over trends or perfect setups. Gear should support the experience, not distract from it.
Over time, I’ve learned that carrying less, but carrying the right things, leads to better days outside, better decision-making, and more confidence when conditions change.
This guide reflects what has worked for me across different environments, seasons, and trip styles. Use it as a reference, adapt it to your own needs, and don’t feel pressure to copy everything exactly. The best setup is the one that lets you get outside more often and enjoy it while you’re there!
If you want deeper breakdowns of specific categories, fit advice, or current gear recommendations, I’ve linked out to more detailed guides throughout the site, including full posts on backpacks, camping systems, and destination-specific gear.
Thanks for reading, and for supporting the work that goes into creating free resources like this.